Introductory Note
We often get asked how we improve our photos. This new series shows how we work. This is our personal workflow and there are of course many ways to skin the cat. We use our own commercial scripts because that is why we created them in the first place.
The image (beautiful Fossil Fish) we use in this article was shot with the Panasonic G3 and a manual Micro Nikkor 55mm f/2.8 (we bought it about 1974).
Steps in Lightroom
Lightroom is essential for our work as it is our image organizer and raw converter. On the other side the main optimization steps are performed in Photoshop CS5.
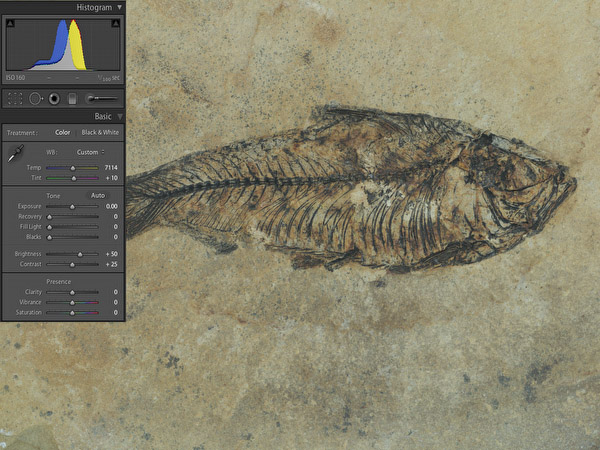
We start with a soft image in Lightroom. In this case it is very soft as it was shot in the shade on a sunny morning.
- White Balance is a classic job for any RC. We tuned the WB a bit to our taste starting with the Shade setting.
- Create a soft tonality with no clipping in the highlights (here often helps if the RAW converter implements highlight recovery) and the shadows as open as we like. We keep the image soft because a harsh image can hardly be fixed in Photoshop but soft images can be improved most of the time. Think like this: If a tonal gradient in your image is gone (destroyed) you cannot get it back again.
- No sharpening to avoid any halos or even latent halos that could get amplified later in the process.
- CA (Chromatic Aberration) removal (here the Lightroom 3.x and Camera Raw Lens Corrections do a good job). Nothing done here.
- Lens corrections if possible (e.g. Lightroom 3.x). We sometimes perform also minor perspective corrections in Lightroom 3.x.
- Some basic color corrections: none in this case
We did not crop this image at all.
Steps in Photoshop CS5
From Lightroom we export the photo into Photoshop CS5 as 16 bit a TIFF image.
Improving Global and Local Contrast
Our DOP Tonality Master script is our way to improve global and local contrast. We even add some more saturation to our picture.
Here is the result just after running the script.
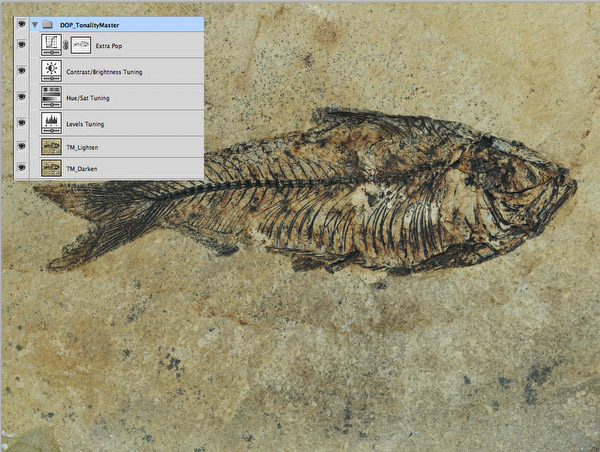
Default result from Tonality Master
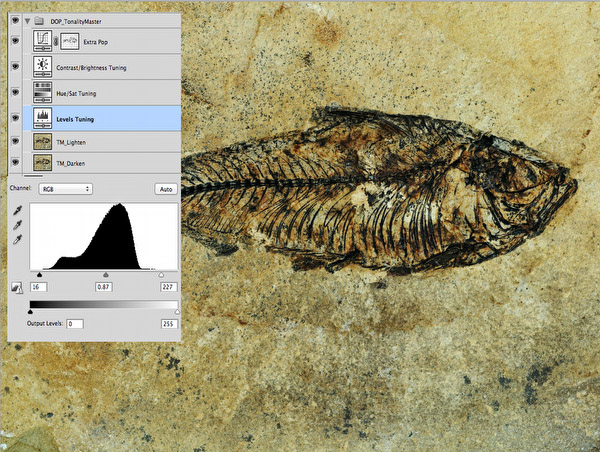
Next we checked the Levels layer and fine tune a bit (black point, white point and gamma):
We want a bit stronger contrast. This is what the Extra Pop control helps to archive.
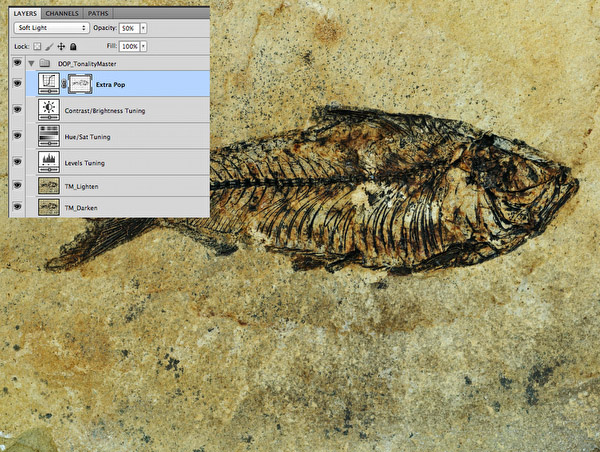
Adding pop
The Extra Pop opacity is at zero (means off) by default. For this image we set it to about 50%.
Sharpening
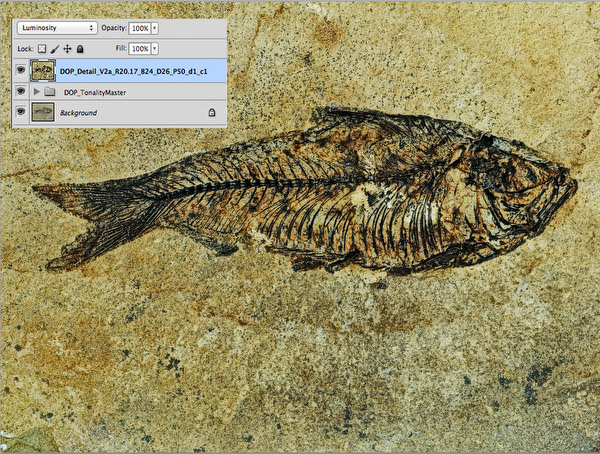
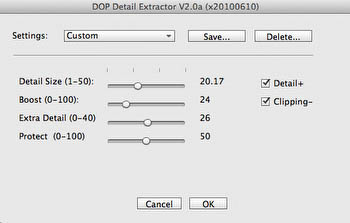
Most of the time we sharpen with DOP Optimal Sharp (the Tonality Master Layer Group needs to be collapsed). This time we wanted to extract even more fine detail and used our DOP Detail Extractor script.
we used these settings
Sharpening works by enhancing edges. This means some parts of the image get brighter and some get darker. In this case we don want to brighten that much. For this purpose we created the free script DOP Split Bright Dark. After running this script we can tune the lighten and darken parts independently.
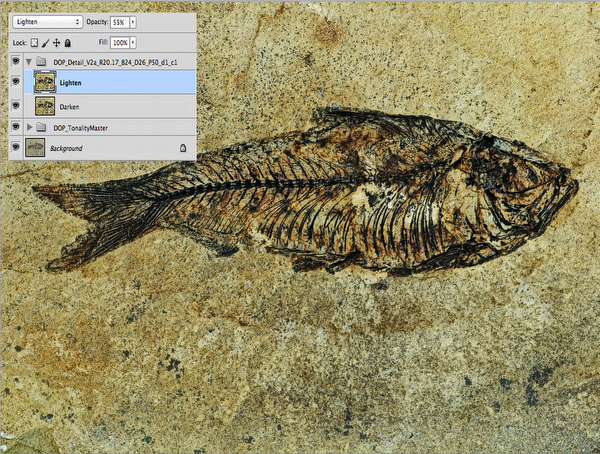
Final result after Tuning (Lighten to 50%)
Final Result
These were some simple steps but we got what we looked for. Below you see how it looked when we started and at the end.
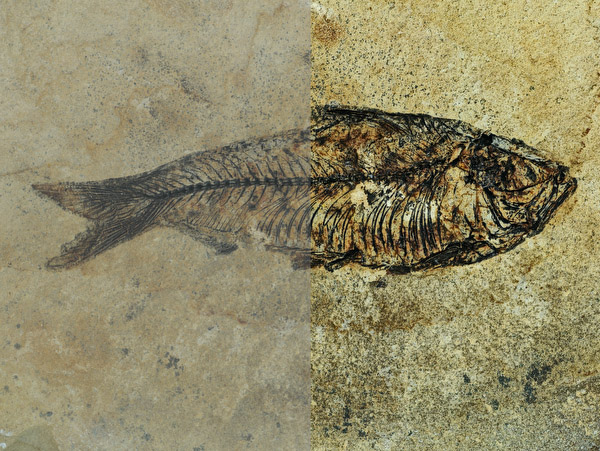
You can try this workflow with our free demo scripts. |