9/9/2011 DOP Tonality Master Selective
The original script cam produce in some cases (e.g. clear blue sky) produce some minor posterization that may show in strong contrast B&W conversions..
DOP Tonality Master comes now in two versions in the same delivery (is not part of the demo version):
- DOP Tonality Master: The original tool
- DOP Tonality Master Selective: Almost the same but avoids the potential posteriazations
Both versions are now part of DOPF030 and DOPF085.
Note: Because as of 9/9/2011 the original version is not even 30 on the market all buyers of DOPF030 or DOPF085 can just download the software again and receive the upgrade for free.
DOP Tonality Master
Motivation
We are quite excited to present this new script. We use it for some weeks now and believe it helps a lot to get consistent quality photos in color and B&W.
The idea was to have a scripts that does automatically perform some initial processing and then allows the user to fine tune the results for their own taste. We had the following priorities in mind:
- Avoid highlight clipping
- Perform basic global contrast corrections without being too aggressive
- Open up some shadows a bit
- Add local contrast, this is one of the core requirements
- Supply easy to use tools for further fine tuning
- Allow Extra Pop for color images (we show below)
There is no way that a script could create perfect images all the time. We found that the DOP Tonality Master gets us on the right track nearly all of the time. We show its use in our demo samples.
Installation
The DOP Tonality Master comes as a Javascript file for Photoshop CS3/CS4/CS5 (we only support CS3/CS4/CS5).
- Full version is named: DOP_TonalityMaster.jsx and DOP_TonalityMaster_Selective.jsx
- Demo version is named: DOP_TonalityMaster_Demo.jsx
Installing the script
The script needs to be copied to the Photoshop CS3/CS4/CS5 folder and here to Presets/Scripts (or to the equivalent locations for other languages). After restarting CS3/CS4/CS5 you should find the script under File->Scripts. If you do not find it there you did not put the script into the proper location.
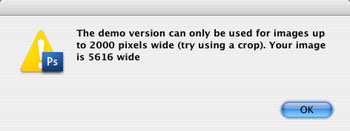
Note: The free demo version can only handle images up to 2000 pixels wide. The commercial version does not have this restriction. You will get this warning message if you use larger images with the demo version:
Using the DOP Tonality Master
Using the script
Using the script is simple. Run the script in Photoshop from File->Scripts (the top most Layer Group should be collapsed).
- DOP_TonalityMaster (or the Demo version)
The DOP Tonality Master script does not have any user interface in the script. All control is performed in CS3/CS4/CS5 using the created layers (as part of a single Layer Group):
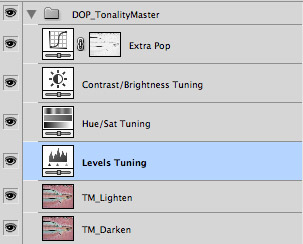
The script creates a Photoshop Layer Group “DOP_LocalContrastOptimizer_V2” with 6 layers.
- TM_Lighten: Allows to control the lighten effect. Depending on the image this can be very minor or stronger. Note: This layer is by default at 30% opacity. This means you can make the lighten effect even stronger or weaker.
- TM_Darken:Allows to control the darken effect. Depending on the image this can be very minor or stronger. Note: This layer is by default at 60% opacity. This means you can also make the darken effect even stronger or weaker.
- Levels Tuning: Simple tuning via Levels (Black point, white point and gamma)
- Hue/Sat Tuning: For global and selective saturation tuning. By default this layer adds a mild saturation boost. If you also want to change the hue of your colors you need to switch the blending mode of this layer to from Saturation to Color.
- Contrast/Brightness Tuning: By default this layer does nothing and won't be used that often. Sometimes it is nice to be able to add/remove some extra contrast. This layer is in the Luminosity blending mode to preserve color hues.
- Extra Pop: This adds a nice way to make your colors pop if wanted. By default it is set to zero opacity (means set to off). Our example will highlight its use and potential. If comes with a midtone mask to prevent clipping.
You can further fine tune:
- Opacity of the Layer Group for lowering the overall effect
- Change the opacity of the layers to control the darken/lighten effects.
- Add layer masks to the group and/or layers
Note: The script should be only run once per image. Otherwise better to flatten the image before a second call.
Sample Workflow
We always start from Lightroom (could be aperture too). Our goal is to get it put of LR with the following properties:
- Best to start from Raw
- Use your best color profile (we use custom DNG profiles with ColorChecker Passport)
- Open shadows (no clipping and maybe even some Fill Light
- No clipping in the highlights (you may even need to perform some Highlight Recovery)
- Sharpening off
- Noise removal to default unless you have strong luminance noise
- Tone Curves to linear
- Automatic or manual lens corrections
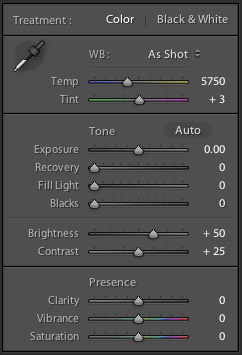
typical settings (all more or less like default, but blacks to 0)
- Export from LR to Photoshop
Sample #1 Color
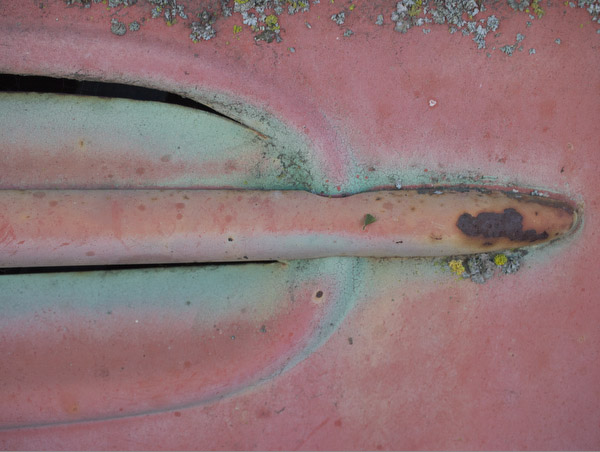
From LR (intentionally soft)
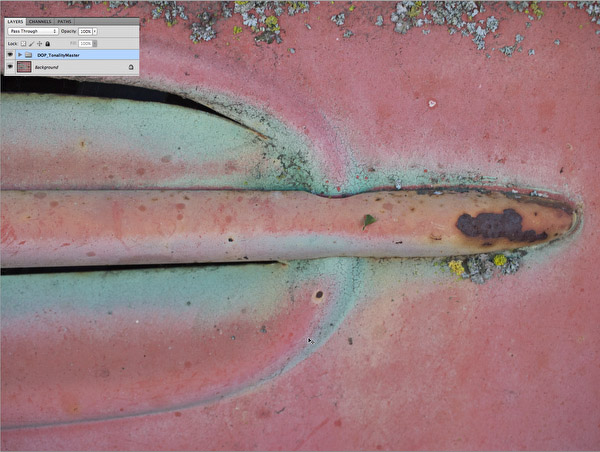
Just running the script (without tuning)
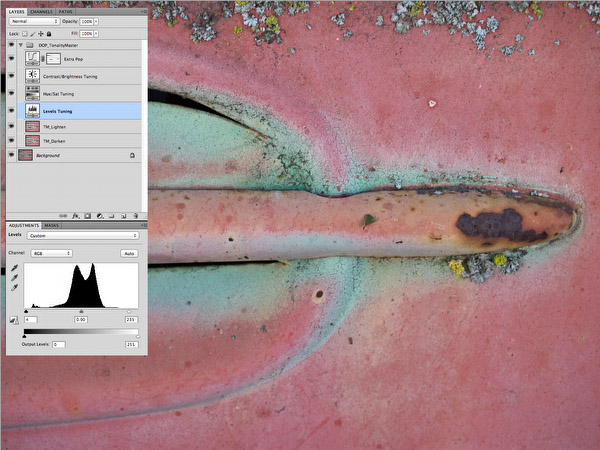
Some Levels tuning (black, white and gamma)
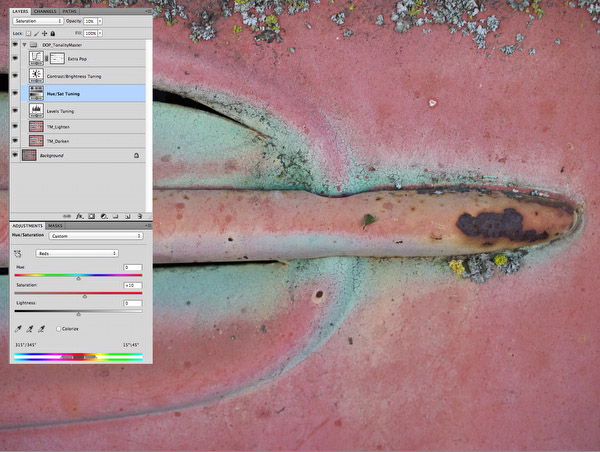
Saturation tuning (here adding some red saturation)
In this case we wanted even stronger color (like in some HDR grunged images without the grunge halos).
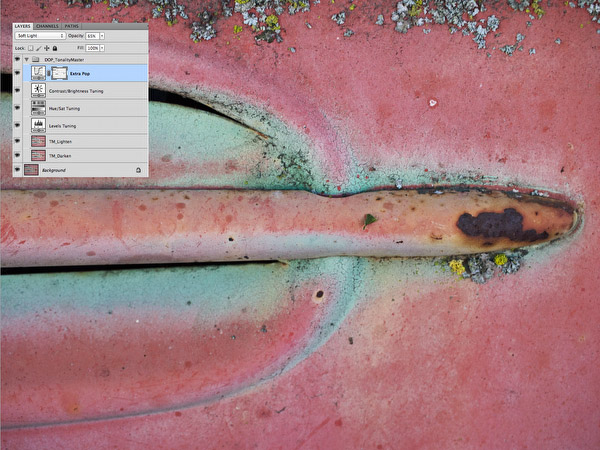
Extra Pop
Our final step is some sharpening with DOP Optimal Sharp. The local contrast enhancement of DOP Tonality Master requires lower amount of fine detail sharpening (we often settle with 50%).
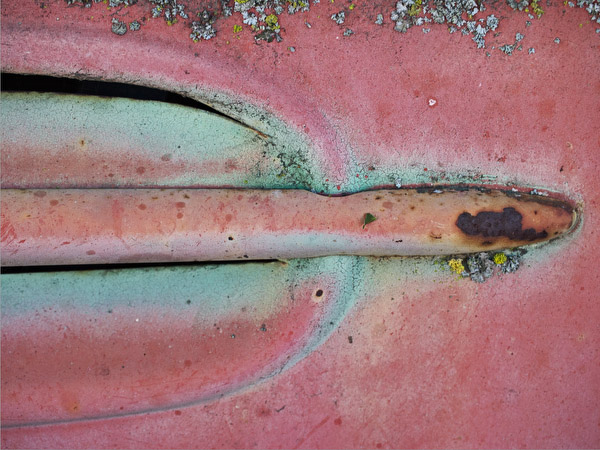
Final result
Sample #2 B&W
The DOP Tonality Master does not perform the B&W conversion but prepares images very well for the final B&W step.
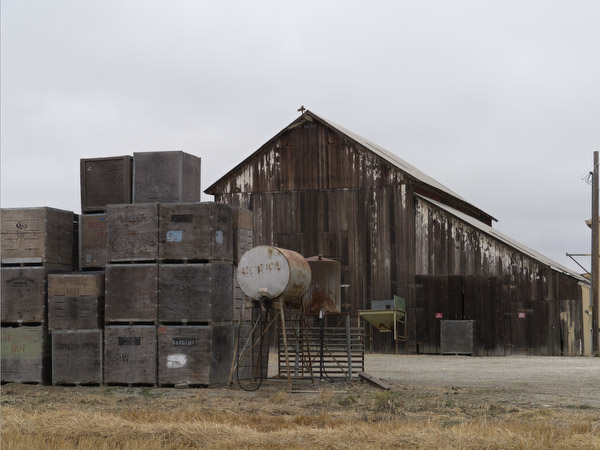
Start image out of LR3
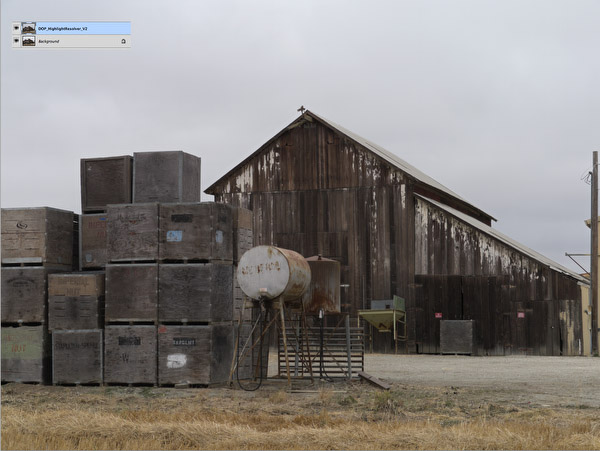
Use DOP Highlight Resolver to gain highlight substance
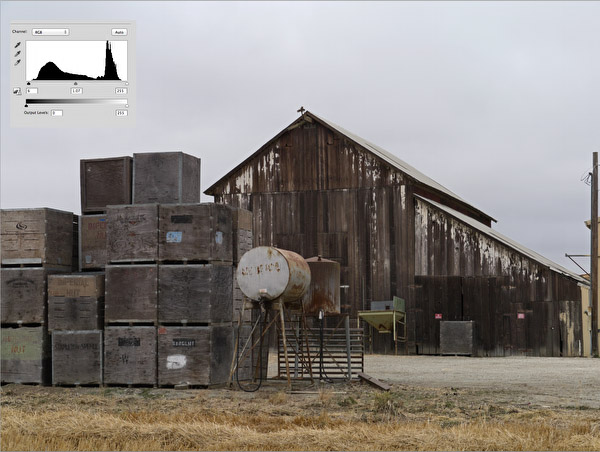
Run DOP Tonality Master and minor levels tuning
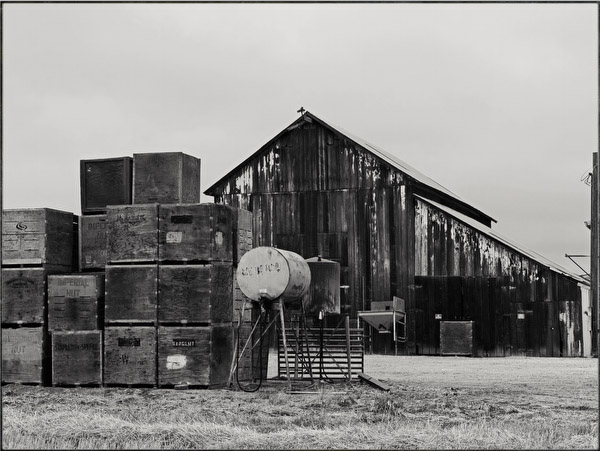
Sharpening and B&W conversion
The B&W conversion was performed in Photoshop with:
DOP Tonality Master Sample Cases
Conclusion
We are confident that the new DOP Tonality Master can help to improve your editing workflow. Best you try it yourself using the free demo version. |