Motivation
We worked for quite some time on a script that adds some "snap" or "pop" to our images without destroying the highlights and crushing the blacks too much. On the other side we also wanted to get some easy to use control over the result. Finally we came up with this new script DOP_OptimalSnap. We consider Optimal Snap as a good companion to our Optimal Sharp V3 script.
Installation
The DOP Optimal Snap comes as a Javascript file for Photoshop CS3/CS4/CS5 (we only support CS3/CS4/CS5).
- Full version is named: DOP_OptimalSnap.jsx
- Demo version is named:DOP_OptimalSnap_Demo.jsx
Installing the scripts
The scripts need to be copied to the Photoshop CS3/CS4/CS5 folder and here to Presets/Scripts (or to the equivalent locations for other languages). After restarting CS3/CS4/CS5 you should find the script under File->Scripts. If you do not find it there you did not put the script into the proper location.
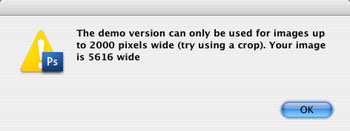
Note: The free demo version can only handle images up to 2000 pixels wide. The commercial version does not have this restriction. You will get this warning message if you use larger images with the demo version:
Using DOP Optimal Snap
Workflow
Process the image in your raw converter (e.g. Lightroom, Camera Raw or Capture One) so that you don't have any clipping in the highlights and as little as possible in the shadows. Open the image into Photoshop. Always work with 16 bit files if possible.
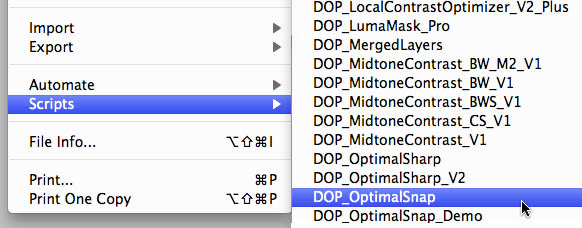
Select the top layer (top layer group collapsed) and run the script from File->Scripts:
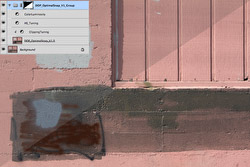
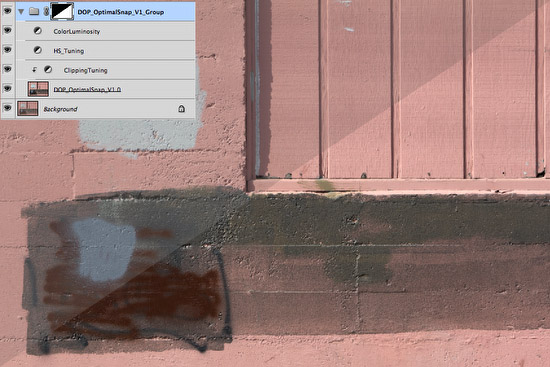
Running the script creates the following Layer Group called "DOP_OptimalSnap_V1_Group":
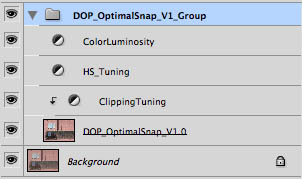
The role of the different layers is explained below. They all are designed to allow finer tuning of the result.
This is the layer that adds the basic "snap". The layer is in Blending Mode "Luminosity" to only influence the Luminosity of your images. You can lower the opacity for fine tuning but you also may consider to change the opacity of the whole group.
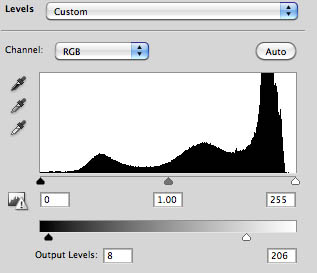
This is an essential Levels layer that helps to tune the result if needed:
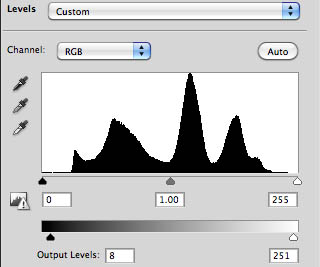
As you can see by default the Output Levels are set to 8/251. This avoids to harsh highlights and too crushed blacks. You can change these values as you like. The Gamma slider is by default set to 1.0 but can also be used to brighten or darken the image.
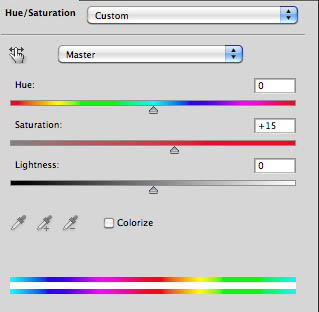
This layer adds some saturation by default. The layer is in Blending mode "Saturation" and only controls the saturation and not the hue of the image.
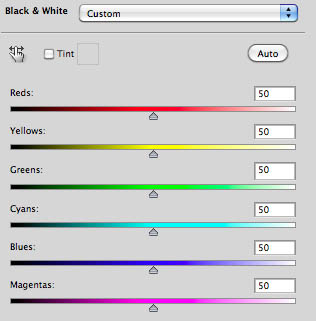
This is a B&W Adjustment Layer in Blending mode "Luminosity". This allows you to tune the brightness of different colors in your photo. We sometimes disable this layer as it may also have unwanted sideeffects like posterization. Use it carefully.
Sample Images
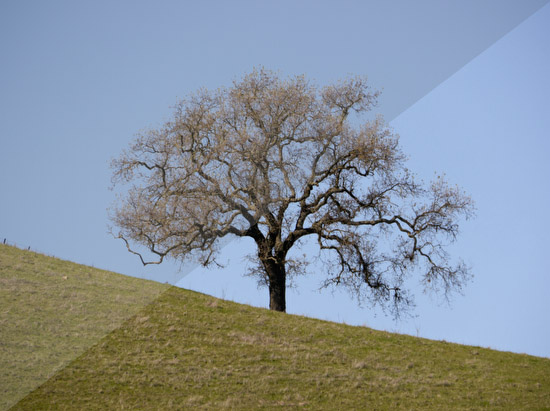
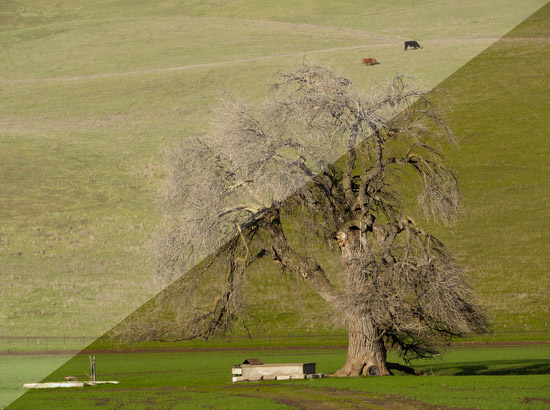
Always the top left is our starting point and the lower right the result after using Optimal Snap. We always sharpen the final image using DOP Optimal Sharp first and add a snap as the very last step.
Note: Optimal Snap may not improve all your images but it works well most of the time. If you don't like the result you have these options:
- Lower the opacity of the Group
- Fine tune the results using the tuning layers as shown in our examples
Sample 1
At default settings
Sample 2
At default settings
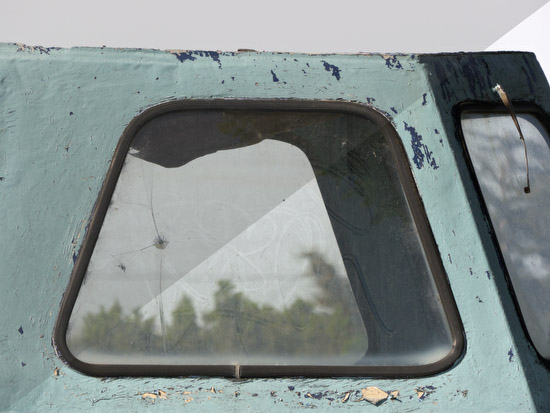
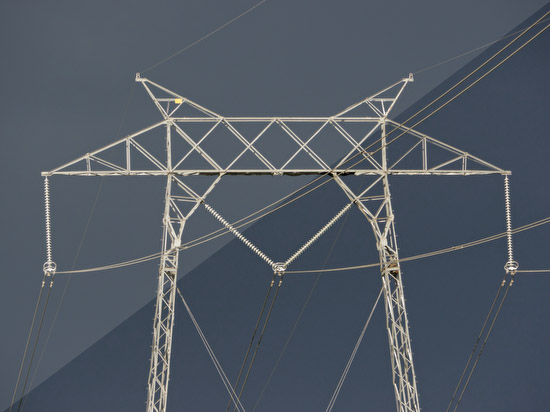
Sample 3
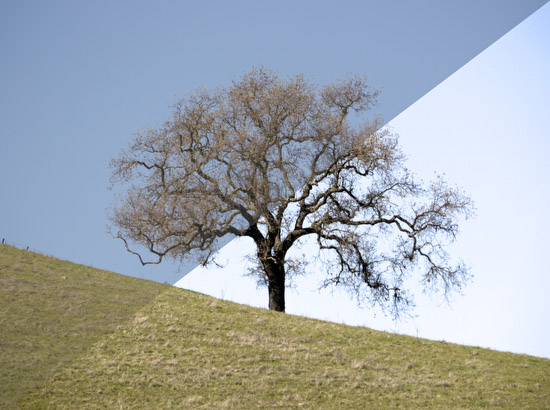
In this case the default settings blow out the sky. We tune the result like this:
Lower the highlight Output Levels
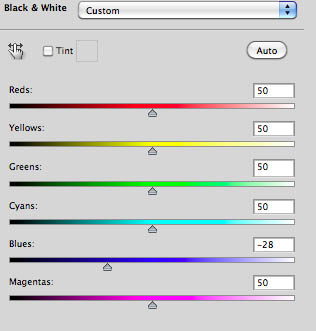
and darken the blues
Final result
Sample 4
With some tuning applied
Sample 5
At default settings
Conclusion
We think that Optimal Snap adds the right snap to your images and allows some fine tuning if needed.
As always try before you buy. |