There are often situations where you ask yourself "How did I create this image?". Why?
- Want to create the same image but somehow improved
- Create a new image but following the same style and recipe
This question is not limited to texture blended images but with Texture Blending you may ask these questions more frequently. It basically comes down to the following more specific questions:
- What original images got blended?
- How were my blending settings?
Sample Image
We don't bother that much how we created the frame because we change the style over time and creating new frames is something we often do. This means we don't forget this step.
The other answers are all documented in the Layer Stack of the blended image because we save the full Layer Stack with our images. The image at hand is a bit more complex than many of our other blended images. In this case we blended actually twice. The good news is that all the originally images used are actually contained in the Layer Stack. To study all the layers we provide a down sampled version with all layers in place for you to look at.
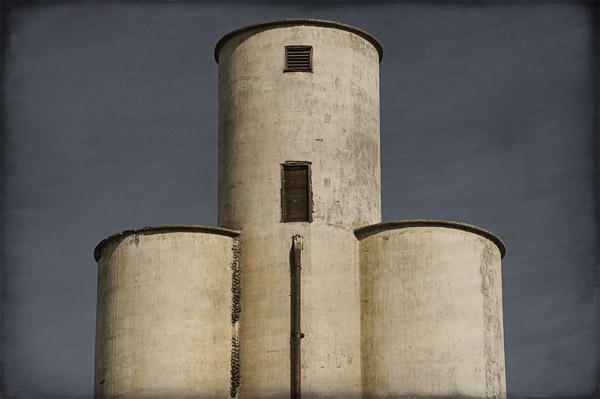
Base Image
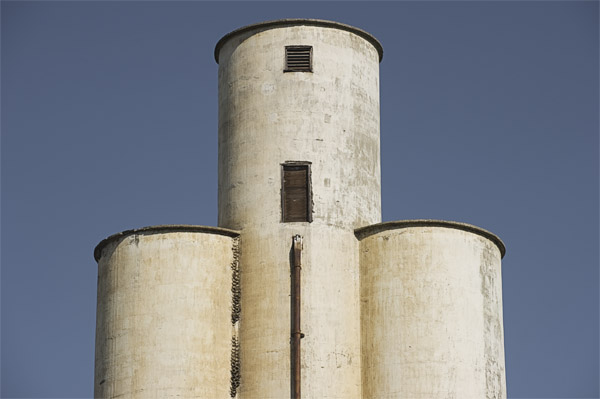
This was shot at full sun with the Nikon D3s. We lowered the saturation of the blue sky in Lightroom but otherwise did not do much.
Just turn the two Layer Groups that make up the blending off and you see the original base image. The name of the base image (to find it in Lightroom) is either part of the filename of the blended image or in case we used our Texture Blending Tuning Kit is part of the layer name.
Blend #1

The first blending used some grass to get the sky effect.
Note: Both Blend Images have the same content as the original images used for the blending. But some of the images get resized during the process. In the this case the Base Image is the original size and the Blend Images got resized.
Blend #2
The second blend provided the frame and adds also some warmth.
Conclusion
It is very important to have a process that helps you to document how you created your final images. This way fine tuning and applying the same recipe to other images is very easy.
Both the DOP Texture Blending and the DOP Texture Blending Tuning Kit make this process very easy.
Apply the same kind of systematic process to all of your images.
|