"I just wanted to say that I really like what you're doing with texture-blending. You are getting some beautiful images, and these texturing techniques work very nicely with the way you use soft color in your photographs. You just keep getting better and better (and subtler and subtler)." Michael S., 2010
Color correcting has in many cases a slightly different meaning for photographers and filmmakers. Photographers often think of correcting the colors to match the scene they photographed while filmmakers are more often interested in creating a certain "Look" they want. This is also more important for movies as they require a consistent look for the whole movie. How can it be consistent if it is not planned to have a certain "Look". In the digital age this is done by shooting for the "Look" and then even more importantly finally creating the "Look" in post production (also called Grading).
Because we also create some short films using our HDSLRs we came across a tool called Magic Bullet Looks by Red Giant Software (we use it with Final Cut Pro). Looks is very well regarded with filmmakers and even used in some major Hollywood movies.
"Looks" impresses us in many ways:
Many options to influence the Look
Easy to use
Amazing interface (we show this later)
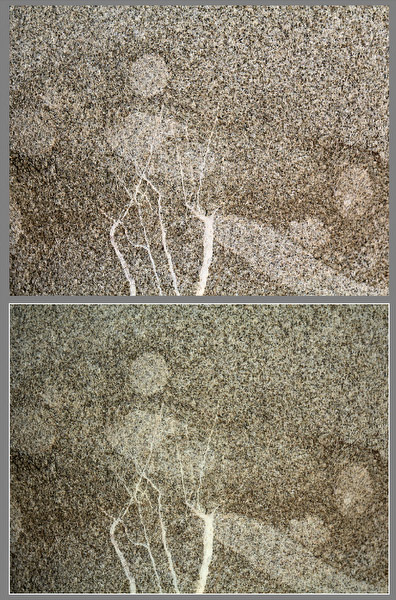
We use it if we convert movies to B&W like in this sample here:
To write a review about Looks was on our to do list for a while and we also featured Looks in our book "Mastering HD Video with your DSLR".
We actually hoped that Looks (or equivalent) would be available as a Photoshop plugin. To our big surprise (not sure why we are actually surprised :-) ) Red Giant Software just released PhotoLooks for Photoshop. In some way it is identical. Means all you learned from Looks can be applied to PhotoLooks and vice versa. Even all the presets are shared.
Note: There are some under the hood differences because PhotoLooks has to work with much larger images. While Looks relies on the GPU of your graphics card for rendering PhotoLooks does not impose such a limitation.
Because Looks and PhotoLooks work very much identical from a user perspective we can cover both by looking at PhotoLooks in Photoshop (here CS4).
Working with PhotoLooks
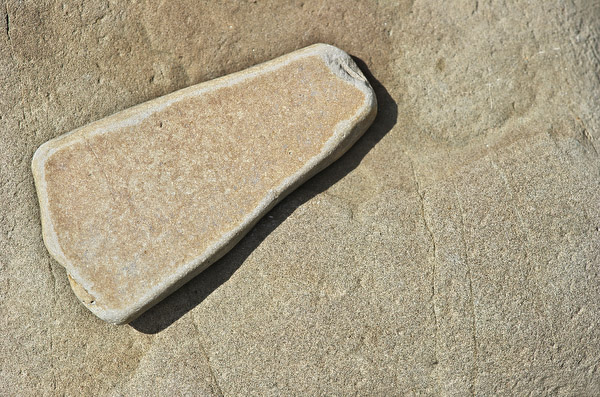
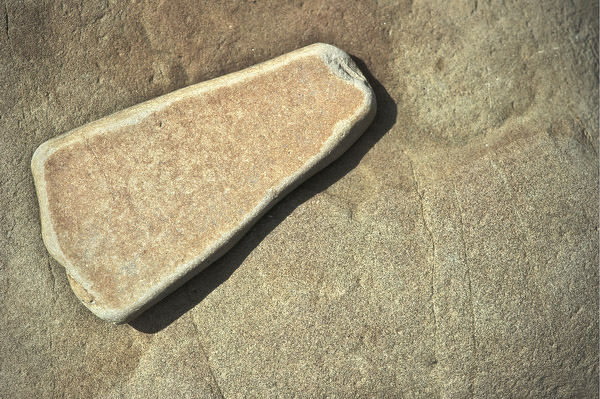
We demonstrate PhotoLooks by showing a sample. Here is our start image:
This photo was shot at a beach at strong sunlight at about noon.
If you create a look it is your personal choice. There are no right or wrong Looks. It is all about what you want to express. In general we start looking for an appropriate look once we have created in Photoshop an image that has a good overall contrast and what we would call faithful colors.
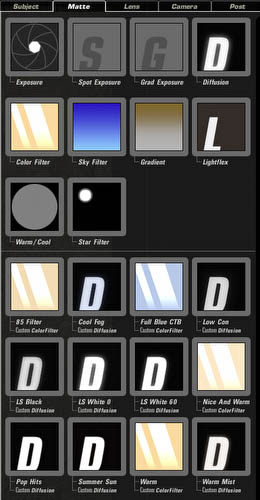
The PhotoLooks UI
Full screen PhotoLooks UI (called the Looks Builder)
Main UI Elements are:
Left: Presets (hidden in the above image, only needed on demand)
Right: Effects (also hidden, only needed on demand)
Middle: The image preview showing the current Look applied to your image
Bottom left: Help if enabled
Bottom middle: Effects used by the current Look
Bottom right: Settings for the selected effect
First we need to understand what make up a "Look". A look is created by applying a chain of effects to the photo.
Effects used for the current Look
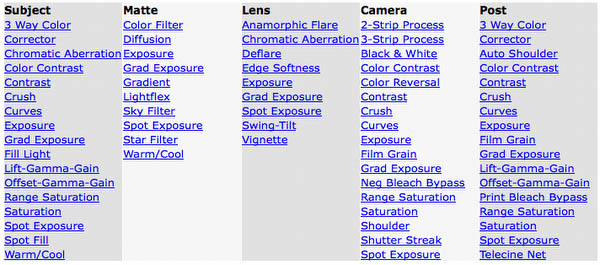
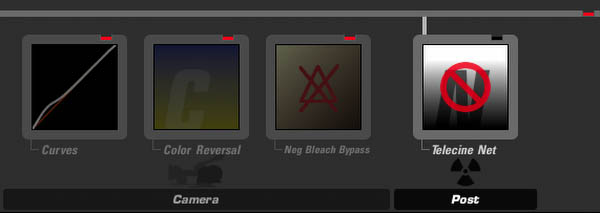
The effects are organized by categories:
All tools shown in the help files
Some of these filters are standard imaging tools like "Curves" and others are simulations of classic effects used for film movies.
Note: We don't understand some of the effects from their technical perspective but explore them by looking for the visual impact.
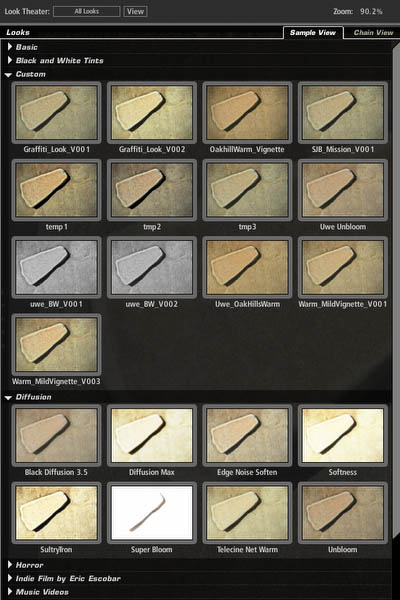
This sounds like creating your own look is complicated. This is clearly not the case. The best way to create an own Look is to explore the many presets:
Preset List
If you select a preset it is instantly applied to your photo.
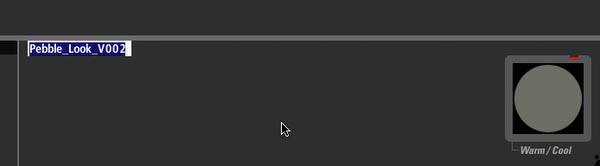
If you have found a Look that seems to be interesting you start to tune this look until you get the result that pleases you. Then you save the newly created look as your own custom look:
Type your own name and hit return
This way you can refine your own looks over time. The UI of PhotoLooks is excellent for exploring your possibilities. You maybe surprised what Looks you find in this process.
At some point you also will check out the single effects and what they can do for you:
Effects organized by 5 different Categories
At any time you can see the original image or the processed version. You can also disable/enable any single effect.
Single Effect disables (on/off by clicking on the red badge)
Once you are satisfied with the Look you hit confirm and are back into Photoshop.
Result after applying our own Look
Note on Color Management: PhotoLooks is not quite fully color managed yet (it assumes the SRGB space internally). This means the preview may slightly differ between the Looks Builder and the rendered version in Photoshop. Once back into Photoshop all is of course fully color managed again. Red Giant Software plans to improve color management in future updates. We did not encounter major problems but we also don't use high saturated colors that often.
Create a new layer with the merged layer stack content
Convert layer to Smart Object
Use PhotoLooks as a Smart Filter
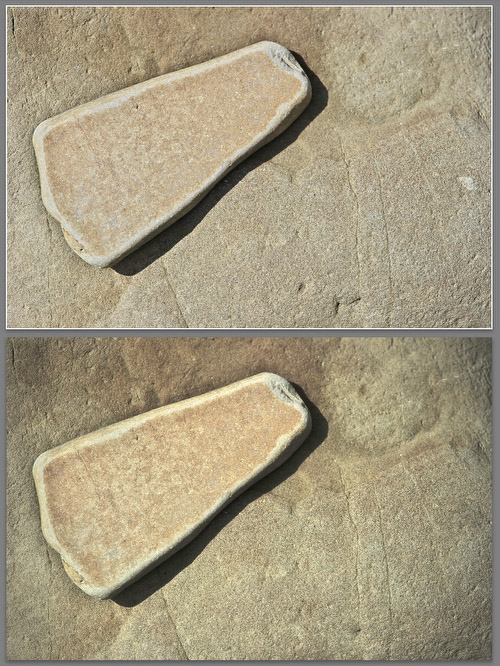
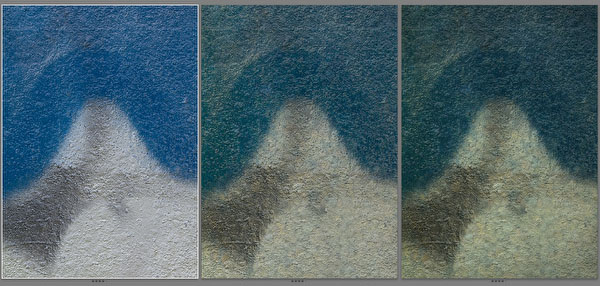
Samples
Before/After
Before/After
From Left: Base Image, After Texture Blending, With added Look
Conclusion
Finding your own Looks is a very creative process. PhotoLooks helps you to create more expressive images and to explore your possibilities. We are very excited that PhotoLooks makes Looks available for Photographers. You need to try PhotoLooks and get the demo.
You support Digital Outback Photo by buying through our affiliate link (try before you buy)