In this series we cover the settings we used with our Texture Blending script to create this image:
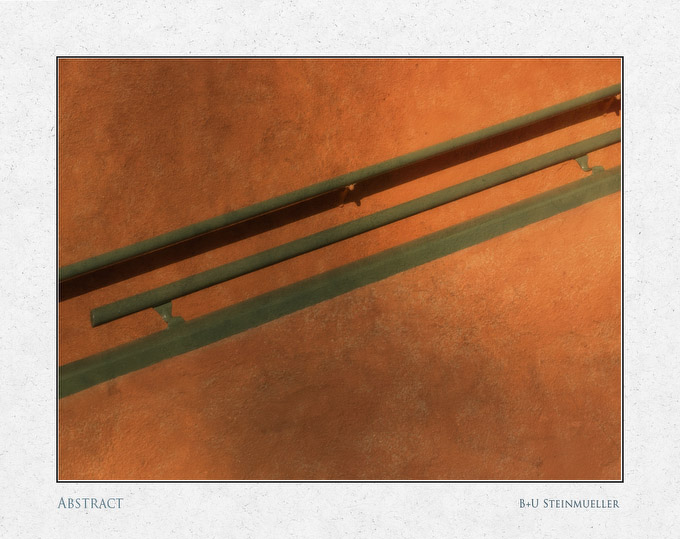
This is the result of blending these two images (shown directly off Lightroom 2):
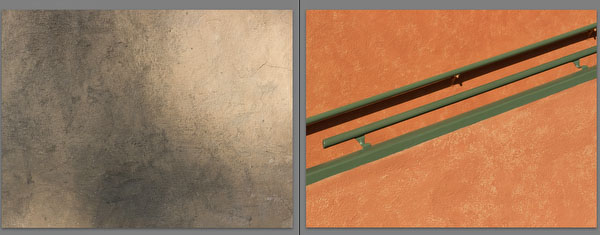
Both wer incidentally shot at the same walk a few pictures apart. Normally the main photo and the texture are shot at different times.
Texture: House Wall
Main photo: Hand Rails on Stairs (no crop)
We like the original main image because it presents a nice color abstraction. We we think that the final blended image looks more interesting because it does not look that clean.
Here is our workflow
Note: Download a downsampled TIFF with all layers intact here (1.7MB). This way you can play with all the settings yourself.
1. We want to use the texture on the bottom. We also do not want to change the size of the "Hand Rails" image. Open both images into CS3/CS4 (and have only these images open), select the texture image and use one of our Texture Blending Tuning scripts to resize the texture file.
2. Now we run the main Texture Blending script and get this layer stack.
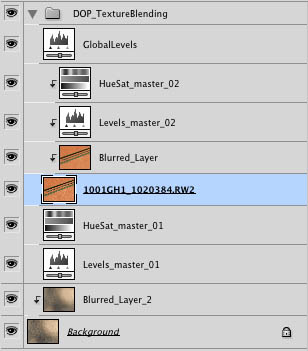
The default blending mode for the image in the Layer Group is "multiply". We changed it to "Overlay" in this case. We actually now often use "Overlay".
We also add a bottom blur layer with the Tuning scripts.
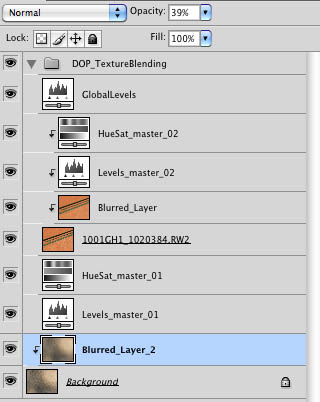
3. We change the opacity of the "Blurred_Layer_2" to 39%:
4. Changing the "Levels_master_01" layer
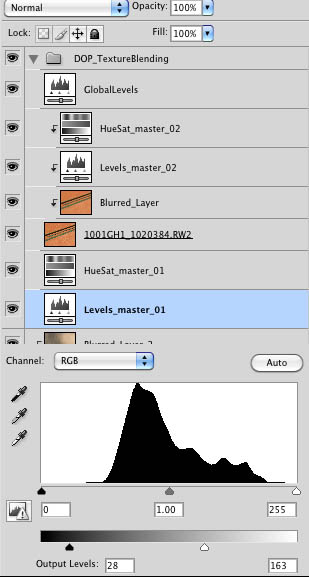
The moment you switch the blending mode to "Overlay" the image will look too bright. This is corrected by setting the "white" point slider in "Output Levels" to 163. The image looked also too blocked in the shadows so that we chnaged the "black" point in the "Output Levels" to 28.
This is always the layer we use with "Overlay" to get the image into the right ballpark.
5. Changing the "HueSat_master_01" layer
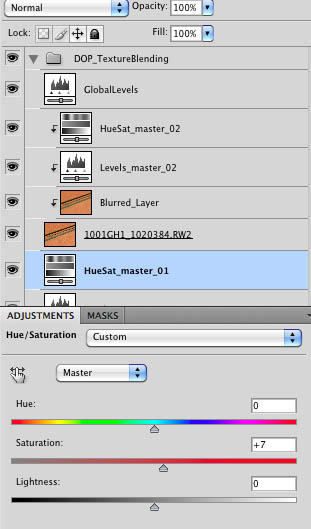
Just very minor settings here.
6. Changing the opacity of the "Blurred Layer" layer to 25%:
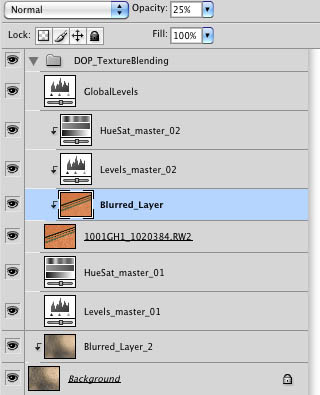
The blur amount is very much a matter of taste.
7. Changing the "Levels_master_02" layer
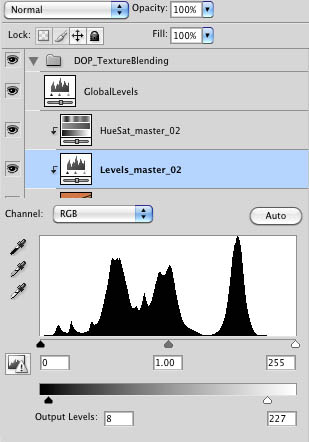
Only minor changes in the "Output Levels".
8. Changing the "HueSat_master_02" layer
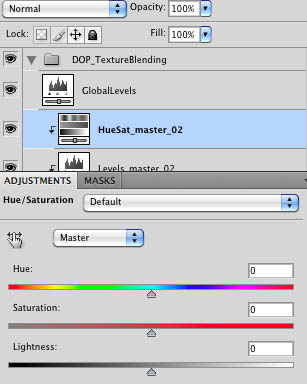
No changes here.
Thats actually all to it. We encourage you to play with the sample image provided above. |