Disclosure: The creators of HDR Darkroom Pro (our report) are sponsors of this site (as of 01/2012). All what we write here is still our own opinion.
This time we create a grunge image from photos we shot with the Canon 60D.
As usual we start from Lightroom:
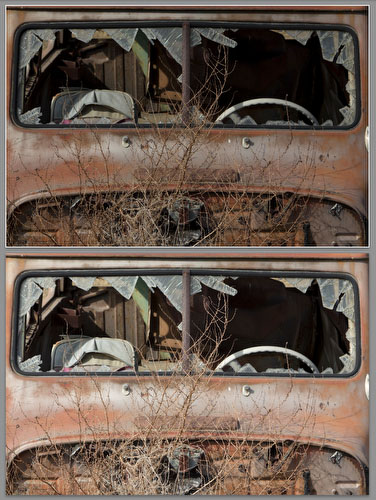
We only used two images from our three shot bracketed sequence because the overexposed shot did not align well due to some motion blur from the weeds.
We drag&drop the converted and ready aligned TIFF files from Lightroom into HDR Darkroom Pro:
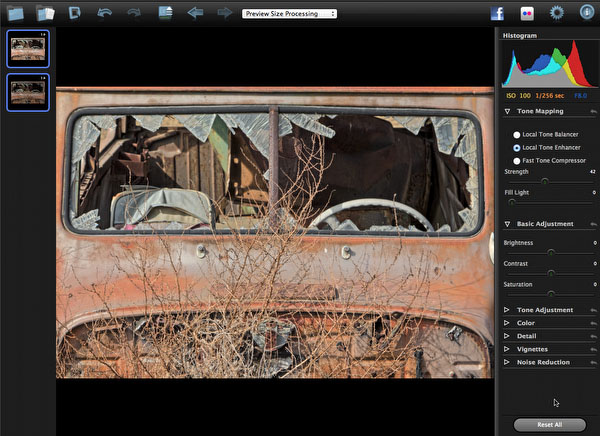
Default Tone-Mapping
Different to the last samples we used this time very strong settings to create that grunge or cartoonish look.

Settings
- Method: Local Tone Enhancer
- Strength: very strong at 93
- Local Lighting: 38
- Brightness: -24
- Contrast: +24
- Saturation:+26
- Shadows: +37
- Highlights: -100
As always we tune the result in Photoshop CS5 (learn more about our general workflow).
Here is the final result:
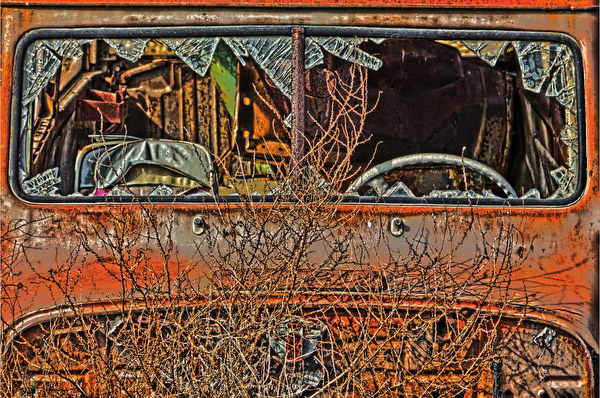
Final version
Conclusion
HDR Darkroom Pro allowed us to get the grunge we wanted. We know some readers may not like such a strong grunge or even any grunge at all. In the end it depends on what you want to express.
|