8/2/2011 Bracket Mode
If you take photos with the iPhone in brighter light you will either suffer from blown out highlights or bad noise in the shadows - or both :-).
There are many HDR applications for the iPhone (including the Apple original photo app). We did not find any app that helped with freehand shooting because they either don't align or do not align well enough (at least with our shaky hands). We know that many iPhone shooters want to get the final result from the phone itself. We do not expect this from any existing camera and let alone the iPhone. So we would be willing to do the alignment and blending later in Photoshop CS5 to get the shot. Unfortunately all the HDR apps we used did not allow to save the original photos for later processing.
The more we are pleased to learn about the app "Bracket Mode". It allows to take two bracketed exposures and saves them to the Camera Roll.
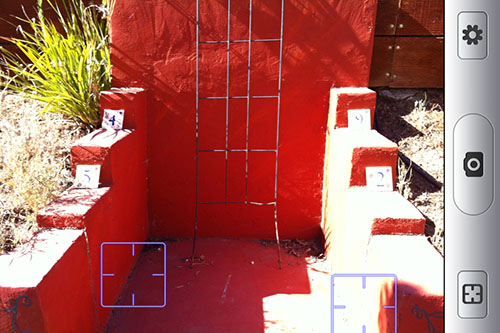
Bracket Mode screen
As you can see the screen shows two squares for exposure readings. Bracket Mode will then take two exposures with these two readings.
The shot based on the darker square will result in an overexposed shot with lots of clipping:
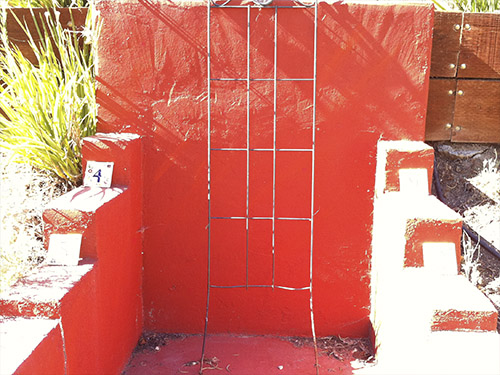
Clipped overexposed photo
The shot based on the lighter square will result in an underexposed shot with blocked shadows (watch the noise hides in these shadows):
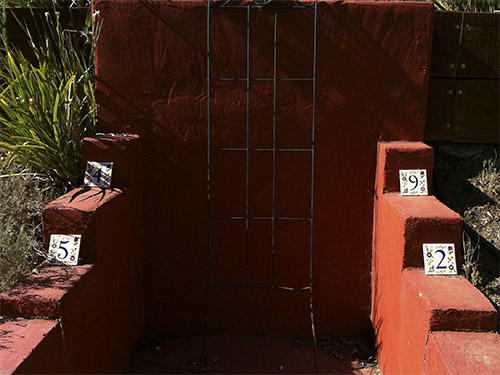
We plan to write about our more detailed workflow soon. Here is a brief breakdown.
- Take the shots (see above)
- Load these photos into CS5 as a Layer Stack
- Now you need to align your images. Sounds hard, right? Fortunately we have done our homework in the past. This article shows how to use world class alignment in Photoshop CS5 (not earlier versions).
- We put the overexposed (and now also aligned) layer on top
- Create a blending mask with our Script DOP Luma Mask Pro with these settings and tune down the opacity (at about 20%)
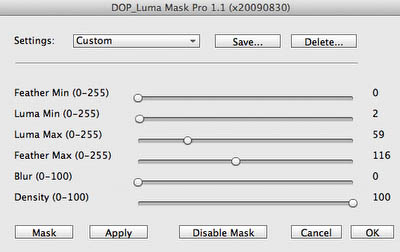
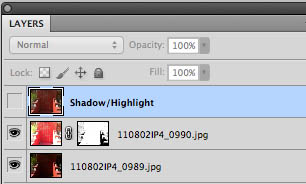
Layer Stack
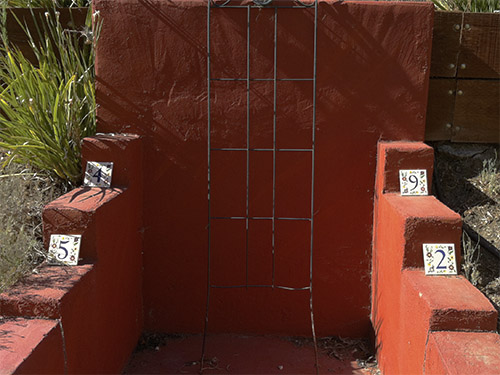
Finally we use some Shadow/Highlight and get this result:
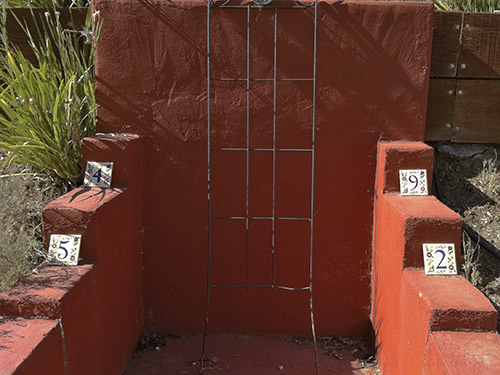
Final result
We like Bracket Mode a lot. It does some essential work in a very simple way.
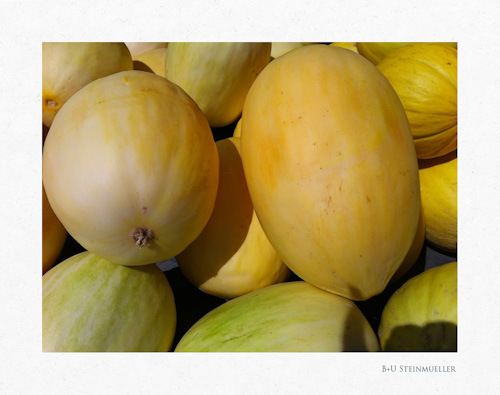
Some Sample Images
So far we are quite pleased with this app.

7/26/2011 Issues with the iTunes "iPod Photo Cache"
What is a cache? It is a way to optimize programming so that these programs act faster by storing data without recomputing them all the time new. In general you should never be really aware that there are these caches (if we would all need to know about disk and processor caches computing would be a messy life). We assume they just work. Unfortunately not all caches have this kind of quality.
Here is what happened. Recently I tried to sync my photos from a folder structure to my iPad and iPhone. I got strange messages that some of my pictures could not be synced because my iPad/iPhone could not display them. I could not find anything wrong with these images. Also iTunes was not even that helpful to provide a list of these "bad" photos but showed the name of only one. Then I checked in Google and after some longer research I found this article about the "iPod Photo Cache" folder. This cache stores all your images in the correct resolution for your iPads/iPhones. For no obvious reason this cache had gone bad. Just deleting this folder helped. The cache was rebuilt at my next sync.
My problem was solved but I still don't understand how iTunes could implement such a fragile cache. The problem is not that the cache got bad but that iTunes did not detect the problem.
You have to love all these caches :-).
4/4/2011 almost DSLR
We just started looking more into video with the iPhone. Right aways we found the following issues using the iPhone camera app shooting video:
- No focus lock (focus hunting on pans)
- No exposure lock
- No WB lock
- LCD does not show the full frame because the buttons hide some parts
- No image stabilzation
almost DSLR
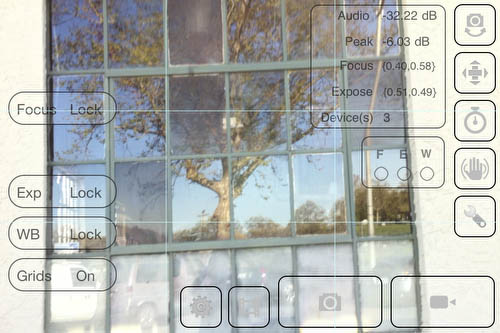
Except of image stabilization for video it solves all our problems:
- Focus lock: Select Focus lock and tap to focus
- Exposure lock: Select Exposure Lock and double tap to set exposure
- WB can be locked
- LCD shows the full frame because the buttons are implementd as HUD
Great little app.
2/22/2011 Camera+
Camera+ provides some camera handling extensions and also post processing.
Note: We do not care much about post processing on the iPhone as we always like to do this later in Lightroom and/or Photoshop. This does not mean it maybe interesting for you. We personally do not like to work with limiting tools on the iPhone if not essential.
That is why we concentrate on some iPhone camera extensions featured with Camera+.
1. Separate points for focus and exposure metering
This is a major feature and convinced us to use Camera+ instead of the built in iPhone Camera application.
The iPhone Camera application has only one measure point for exposure control and focus at the same spot. Camera+ allows you to have two different spots.
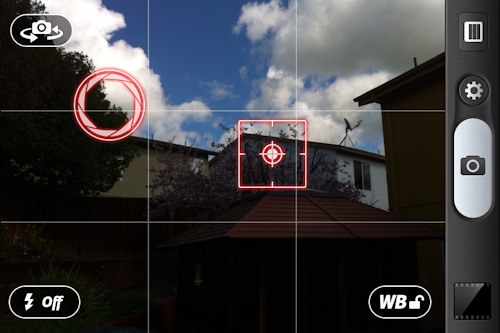
Preserving highlights but blocking shadows (exposure point touches highlights)
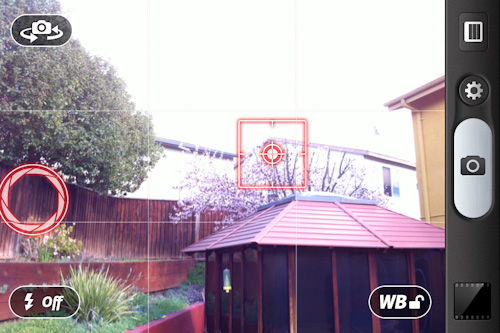
Open shadows but badly clipped highlights (exposure point in the shadows)
As you can see Camera+ allows much better control over the exposure because the focus point is rarely the best way to control also the exposure. This feature alone is worth for us using Camera+. If you underexpose to avoid highlight clipping you will of course get more noise in the shadows. We use Lightroom to reduce some of this noise. Having clipped highlights is not really an option for us.
2. Stabilizer release
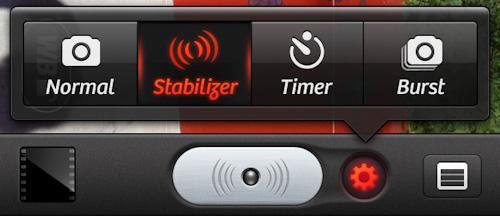
The iPhone has an internal motion detector (mainly for games). This allows Camera+ to wait for an instant of low shake to take the exposure.
There are many more features in Camera+ we do not cover here.
Highly recommended!
Camera+ Website.
1/22/2011 8mm Vintage Camera App
What Hipstamatic is to stills photography is this application for video.
- Lots of fun
- A good way to learn how to create a short story
We think it matches well with a historic place like San Juan Bautista.
Note: We shot in one of the color modes because the B&W we used was too grainy for our taste. We then converted to B&W in Final Cut Pro 7.
Very cheap for so much fun.
8mm Vintage Camera iTunes page
8/15/2010 Importing Images from the iPhone 4 into Lightroom 3
Our iPhones are treated by us like all the other cameras. Normally we import all images from SF/SD cards into Lightroom 3. As you know the iPhone does not have any CF/SD cards but stores the images on the internal flash memory instead.
Note: Also there are no RAW files available. All images are stored in JPEG or PNG (mainly screen shots).
Here is our workflow with the iPhone and Lightroom 3:
- Setting up the Camera Connection in the iPhoto Preferences. We enable the Image Capture application (we show later why).
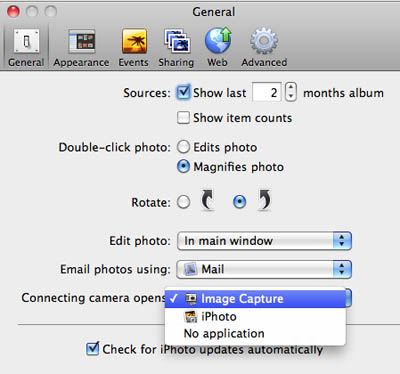
- Connect the iPhone via the standard Dock to USB connector
- The Image Capture application opens and shows the images from the iphone (ignore for now)
- Select import in Lightroom 3
- The iPhone shows up in the list of source devices and we select it
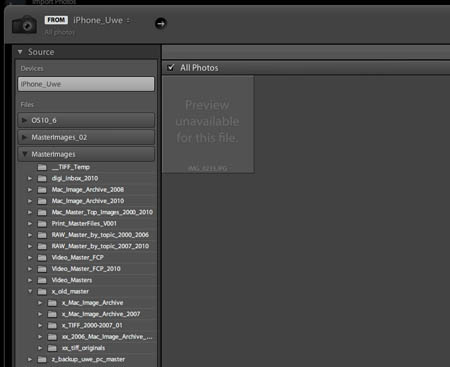
Notes: In our case there is no preview thumbnail of the image ready for import. This is an image shot with Hipstamatic and they do not include a preview thumbnail in there rendered JPEG files. You also need to know that you cannot import PNG images into Lightroom because they do not support this file format. We think Lightroom should also support PNG.
- The most important task for us on import into Lightroom is to rename the images. Here is our renaming template
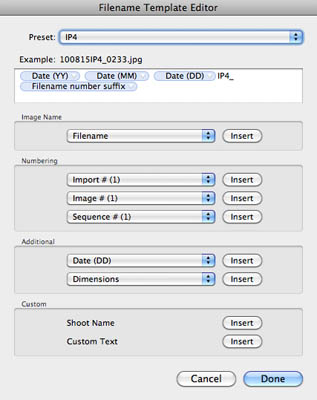
As with all our other images we want the filenames to be unique for all images.
Note: Because we have two iPhones we have also two different import templates. One phone uses "IP4" and the other one "IP4B" as part of the renaming template.
- Select the import destination
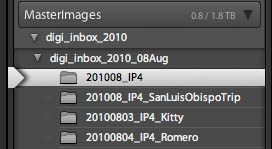
Normally we have a new folder for each shoot and camera. For the iPhone we plan to use a single folder per month.
- Deleting images on the iPhone
We could let Lightroom delete the images on the iPhone but find this not to be good idea. Deleting images should always be done as dedicated step to avoid any image loss. Here are some of our considerations:
- We only delete images from a card or from the iPhone once these images are imported and also at least copied to two different disks.
- For the iPhone 4 we also leave the last shot image on the phone because otherwise the iPhone restarts image numbering again at 1 (we hope this is a bug and not a feature)
Finally we remove images from the iPhone via the Image Capture application. As said we leave the last shot image (image with the highest number) on the phone.
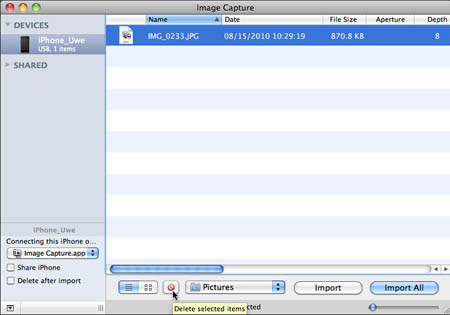
We select all images (except the last) and click the small red delete button to delete all the images on the phone.
Conclusion
For us importing the iPhone photos into Lightroom 3 works very well. This way the iPhones are well integrated into our normal standard workflow.
8/10/2010 More iPhone from our San Luis Obispo Trip
On our recent trip to San Luis Obispo (280 miles round trip) we took quite a few images with our iPhones. Many were taken using the Hipstamatic app (read more below).
iPhone 4 Sample Gallery
8/5/2010 Hipstamatic for iPhone
Hipstamatic is a cheap app for the iPhone (3 and 4). It kind of mimics the bahaviour of a cheap plastic camera from the early 80th (read history here). The creators of the original Hipstamatic were artists. Using the Hipstamatic is artistic fun at its best.
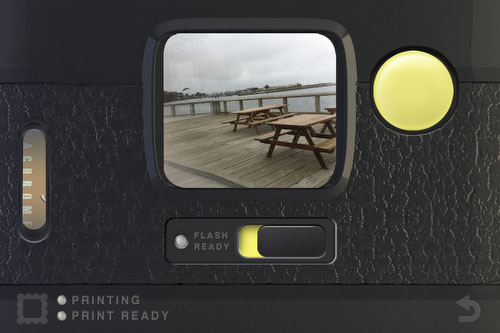
The main viewfinder
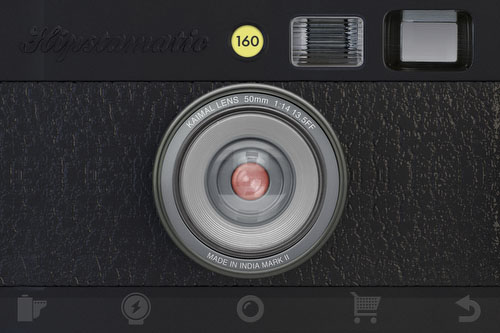
Lens Selection
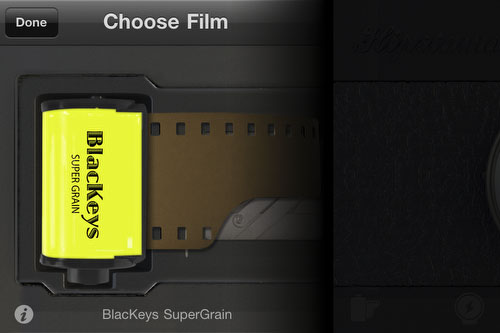
Film Selection
We don't want to tell too much about the application handling itself because:
- very easy to learn
- Exploring Hispamatic is part of the fun
Here are some photos we shot with the Hipstamatic
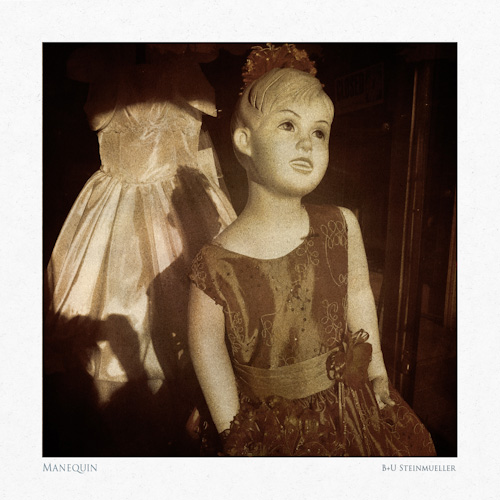
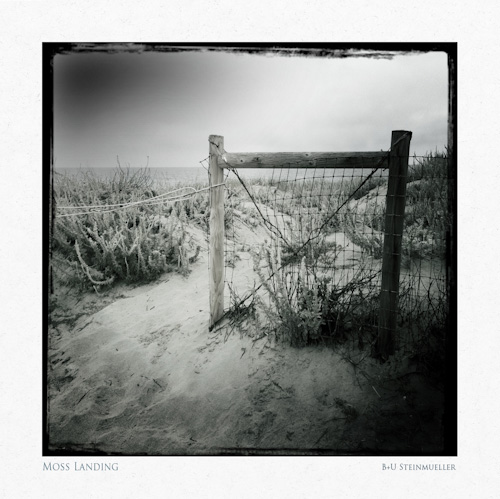
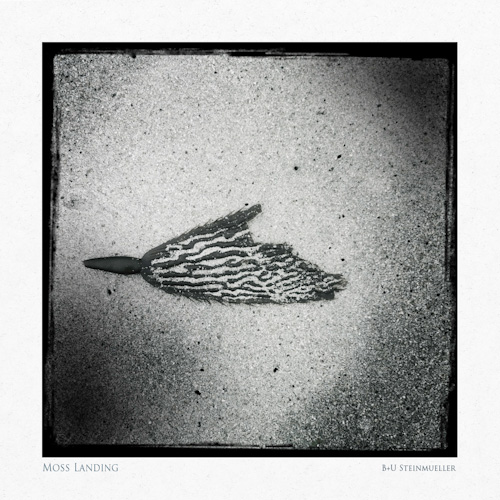
The following photo is from the iPhone without Hipstamatc. But this post processing (using our Texture Bleding scripts) is clearly inspired by our Hipstamatic work:
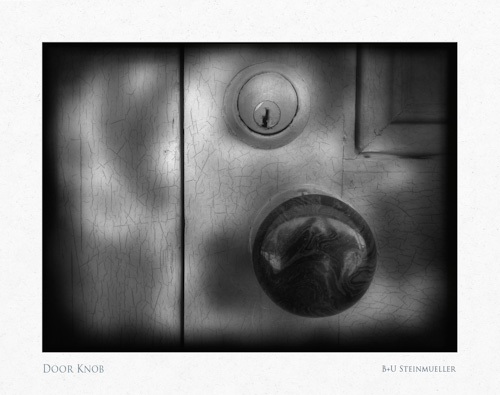
Note: We always shoot at maximum resolution (1936x1936 pixels).
Somtimes we would like the Hipstamatic to act faster (especially at high resolution) but we also could argue that this slowing down is yet annother fun element.
Verdict: If you own an iPhone and love photography you need Hipstamatic. It is just too much fun to miss.
Official Hipstamatic App Page
7/22/2010 More iPhone 4 Photos in our Gallery
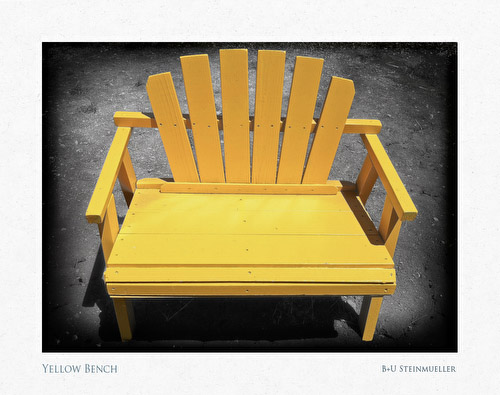
As mentioned before the iPhone 4 and Texture Blending work very well together. The above photo uses selective blending.
7/20/2010 Getting Started
For a long time we avoided to get an iPhone because we did not want to pay that much for the phone contract. But we also realized that the iPhone can be a lot of fun to use for photography. Finally with the iPhone 4 we swallowed the bitter pill and got an iPhone with contract. As said the reason is actually not the phone but the camera for stills and video. This also includes some applications that run on the iPhone and even enhance the fun.
The new iPhone 4 features a 5MP camera with a tiny sensor (better forget about shallow depth of field). Actually it features a front and back camera. There is not much control about the exposure but this is ok for a P&S phone camera.
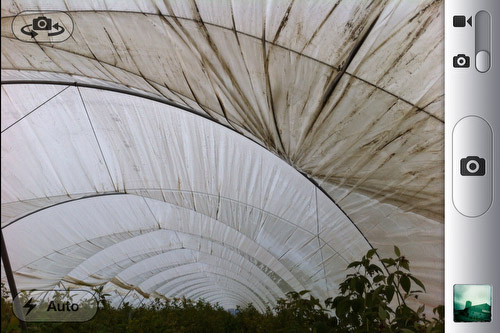
iPhone 4 Camera UI
What is our fascination with the iPhone 4?
- Small & light
- With us all the time
- We always like the challenge to get some nice work out of such an "underdog" camera
- iPhone photos work very well with our Texture Blending
We plan to cover in future segments our personal workflow and some fun apps for the iPhone. We do all our post processing in Lightroom 3 and Photoshop CS5.
Here are some of our early images taken with the iPhone 4:

Not much post processing done here
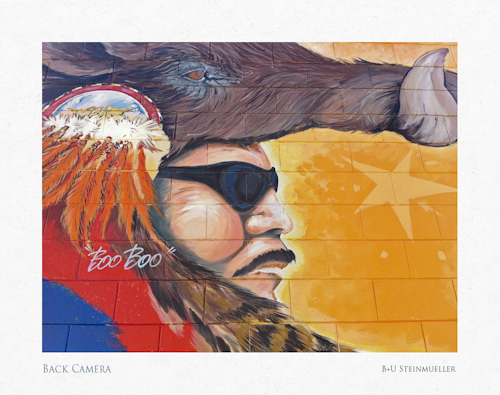
Not much post processing done here
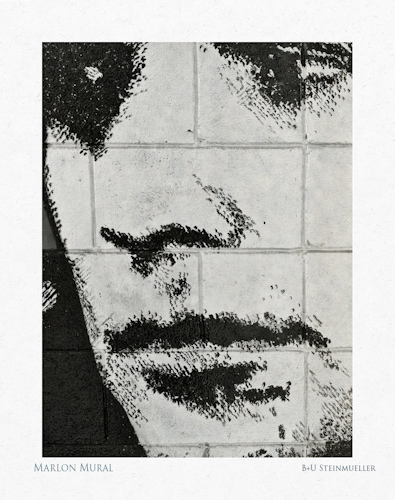
B&W conversion of the close up
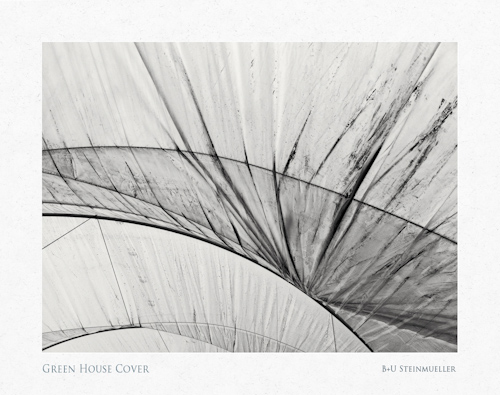
B&W conversion
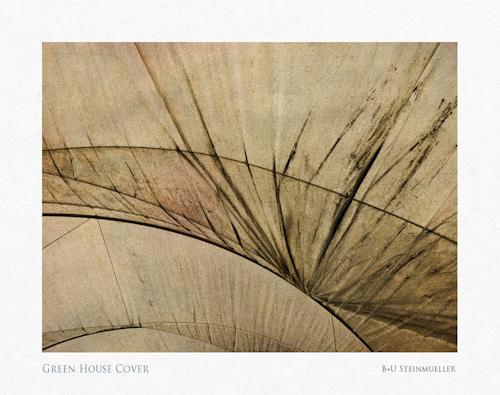
Texture Blended version of the image before
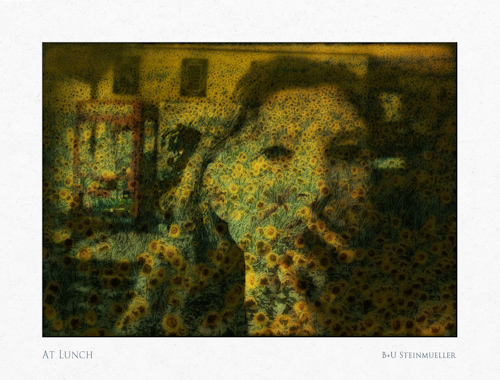
|