 Second opinion by Jim Collum Second opinion by Jim Collum
 Akvis
Enhancer V5.0 Akvis
Enhancer V5.0
Recently we got very excited about the "Tone
Mapping" plugin by HDR Soft. Akvis Enhancer serves
kind of the same purpose but is not based on HDR (High Dynamic
Range) imaging.
We recommend to use Enhancer on 16-bit images although the plugin
also works with 8-bit images.
Best we explain what Enhancer does with a sample workflow session.
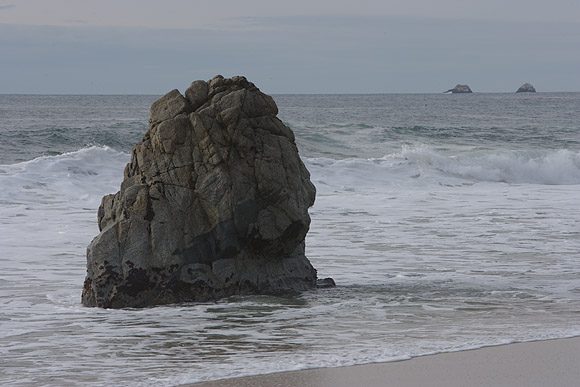
Right out of the RAW converter
Yes, the shadow part of this image could be improved
but it would be very hard to get close to what Enhancer can do for
you. We duplicate the background layer and apply Enhancer:
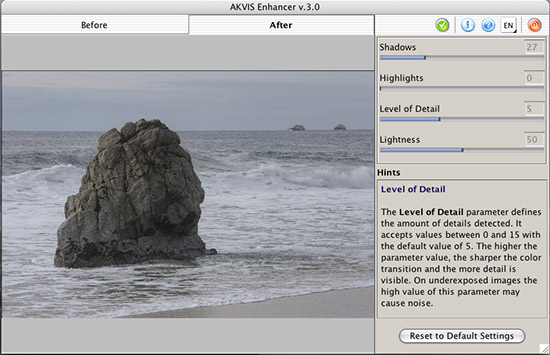
Akvis Enhancer dialog
Akvis comes with 4 sliders:
- Shadows (open up shadows, default is 0)
- Highlights (tone down highlights, default is 0)
- Level of Detail (this is the setting to improve the local contrast,
default is 5)
- Lightness (Adjust overall luminosity, default 50)
In most cases the default values are a very good starting point. For
this picture we also wanted to open up the shadows a bit more. On Macs
the window can be resized but unfortunately not on the PCs. This is
not a very big deal because at some point you know what the best values
are for a certain image. Because the algorithms are quite complex it
takes some time to process the image. 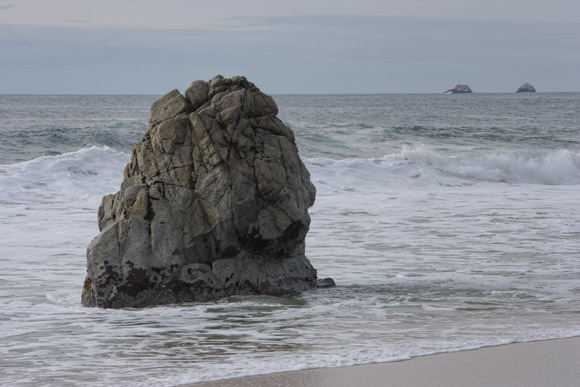
Image after Enhancer
Easy to see how much enhancer improved the photo. We
needed only some sharpening in EasyS Plus and final levels to reach
this result:
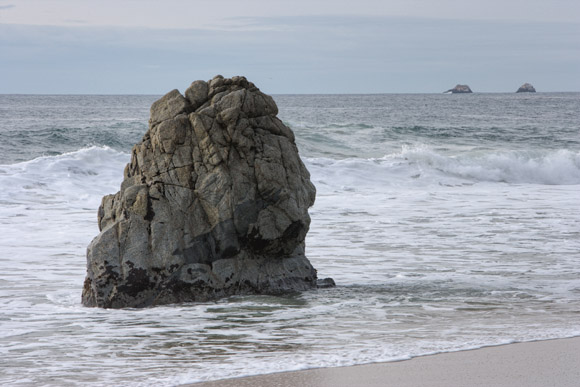
Here is a comparison of some details between original
and final image:
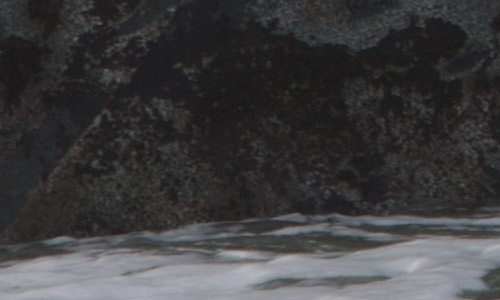
100% magnification crop of the original image
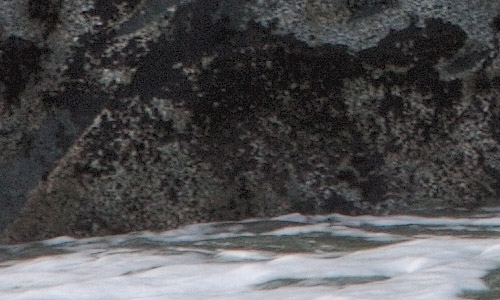
100% magnification crop of the final image
Because Enhancer shows more local contrast it also
amplifies the noise a bit:

100%magnification of original image

100% magnification of final image
You can minimize the noise by using
layer masks.
All pictures processed with Enhancer
show a more 3-D look.
Issues with Enhancer
- We had crashes with large P45 images on the Quad Mac
- You may need to tune your Photoshop settings to work with Enhancer
(PC)
- PC preview window cannot be resized
- We would like to be able to save settings
- The preview is not fully color managed
Overall we like Enhancer a lot and don't want to be without it.
Best you download
a trial version and test it yourself. Be sure to try
Enhancer on many images. You like find that Enhancer is a keeper.
Highly recommended
What to use: Tone Mapping or Enhancer?
We recommend both because they have different strengths.
Best you test both tools with your own images. Both tools have a
fixed place in our toolbox. We often use first Tone Mapping to open
up shadows and finally Enhancer for optimal micro contrast.
If you intend to buy Enhancer please
use this link because you help to sponsor Digital
Outback Photo.
Second opinion on Enhancer
by Jim Collum
As I’ve mentioned in previous articles, I’m
a detail oriented person (at least in what I shoot photographically).
Most of my images are about texture, and for that to be properly
conveyed, there needs to be a realistic feeling of detail. One way
to bring this out in an image is with local contrast enhancement.
I’ve tried various actions and plug-ins, but have finally settled
on one in particular… Akvis’s Enhancer plug-in.
It’s
been a love-frustration relationship with the product. With a single
frame Canon 1Ds Mk2 image, the world was a happy place.
Running Enhancer brought out micro-detail with ease. Most of my
images, however, consist of multiple 1Dsmk2 frames stitched, or Betterlight
images (9000x12000), and more recently, Betterlight panoramas (6000
x 15,000 – 9,000 x 60,000).
Version 4.2 has changed most
of that. It will process my largest 1dsmk2 panoramas and my Betterlight
images up to 9,000 x 12,000.
It still has a problem with images with any length greater then
20,000 pixels though. This should only bother a very small percentage
of
those who would want to use it.
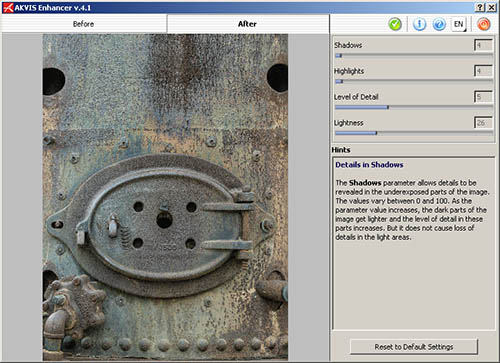
Enhancer Dialog
The UI is very minimalist. The
Shadows slider controls the detail found in the shadows, the Highlights
controls the highlights
(pretty intuitive if you ask
me). The Level of Detail slider is where most of the work is done, and
this ranges from 0 to 15. Below, I’ve shown the 0,5,10 and 15
settings on a sample crop. The lightness slider varies from 0
to 100, and will make the overall brightness
of the image darker or lighter.
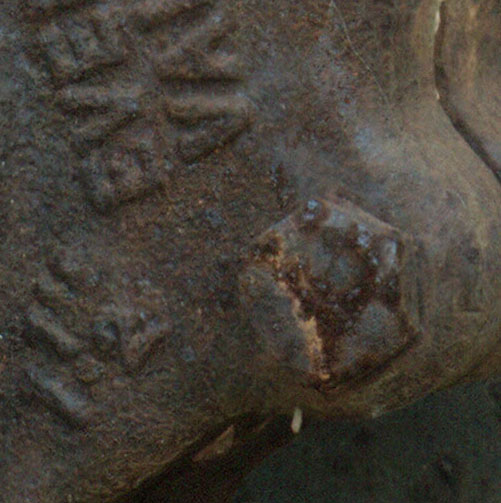
Before

Settings 0
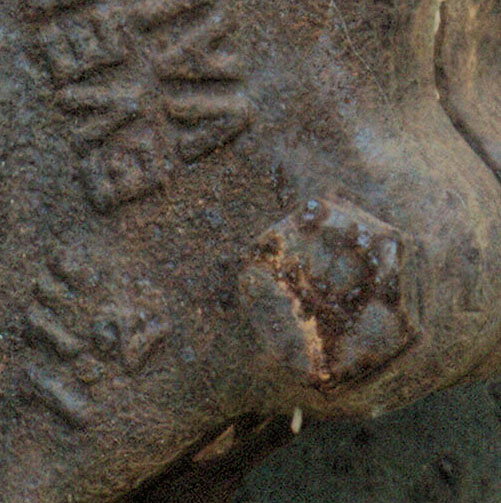
Settings 5
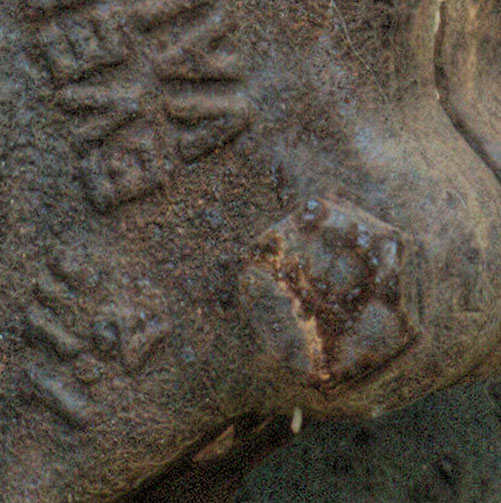
Settings 10
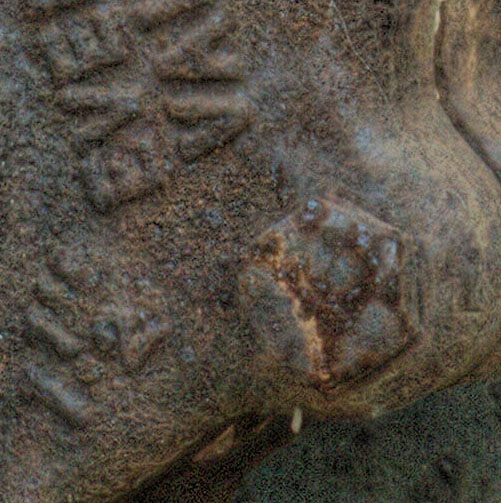
Settings 15
Although the product is very
usable as it is, I’d like to see a few workflow
based enhancements. There’s really no way to include this in an
action that you can apply to a folder full of images. You can’t
pass it parameters that would allow repeatable results from one run to
the next.
Also, the sliders
don’t have the accuracy necessary to allow you to duplicate one
run to another. There appears to be values between the integers displayed.
If you select
5, process an image, and then select 5, but move it to the right a little,
but not enough to hit 6, then the results are different. In an ideal
world,
I’d
like to be able to process images with more than 20,000 pixels, but I
suspect that user base isn’t a very large one. It would also be
nice to resize the plug-in window, and to view areas at 100% to allow
for more precise
tuning.
Despite my mentioned shortcomings, this is an excellent
product, with a development team that has listened to bugs and enhancement
suggestions.
It’s ease of
use, and quality of it’s output, makes it a plug-in that I use
during most of my image processing.
Akvis
Enhancer 5.0
Enhancer 5.0 now allows batch processing in Photoshop.
A very welcome improvement.
If
you intend to buy Enhancer
please
use this link because you help to sponsor Digital Outback
Photo.
|