Improving the tonality of images is one of the most
difficult tasks. Especially the shows are either to flat or even more
often to dark. There are quite a few tools on the market that address
this issue. The most well known is "Shadow
Highlight" in Photoshop
CS. In our opinion, "Shadow Highlight" has two major shortcomings::
- It can produce halos
- With its many sliders the use is not really easy
Here we think the Shadow Illuminator plugin offers a great alternative.
This version of Shadow Illuminator works in 8 bit mode only.
Shadow Illuminator
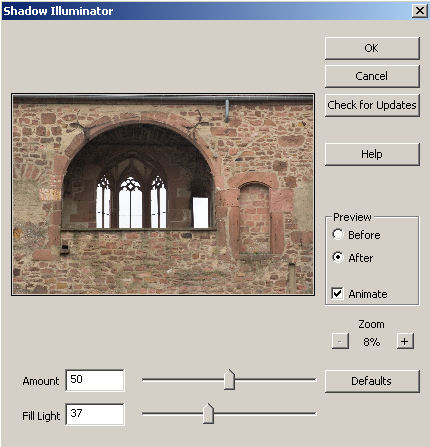
Here is a statement from the creators of Shadow Illuminator:
"Generally, we are looking to eliminate influence of
harsh illumination. It is done by estimating the illumination field
from
the original image
and then rerendering the image as if it was illuminated with the
field that is uniform or at least less varied. In this sense, the algorithm
is recovering the reflectance of the surfaces, i.e., their appearance
irrespective
of illumination conditions." The use is as easy as it can get. The idea is to provide
fill light for the areas that are in the shadow (some not so trivial
math is required here which also takes its time). The small preview
is not really helpful as small sized pictures look darker than the
full
sized
original.
Fortunately this is no big deal as we mostly use Shadow Illuminator
with the default settings in a new layer and tone down the right effect
using the layer opacity (a good way to learn about layers is through
our
e-book DOP2000)
Note: Shadow Illuminator also works in PS Elements
3.0
Here is a sample session where we will learn about the
use and challenges:
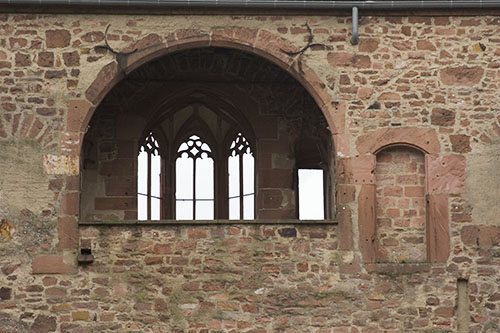
THis picture at ISO 400 in Heidelberg. The deep shadow
in the arch is to dark. Here is what the default processing would deliver:
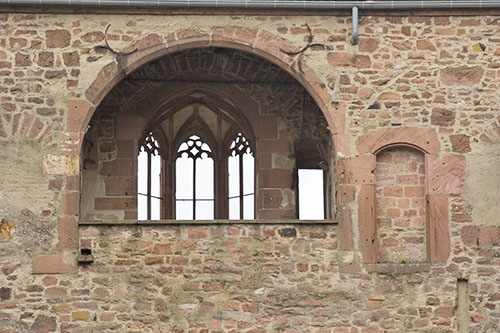
We would say that this is to much brightening the shadow
parts and we stepped back to a 57% opacity of our new layer:
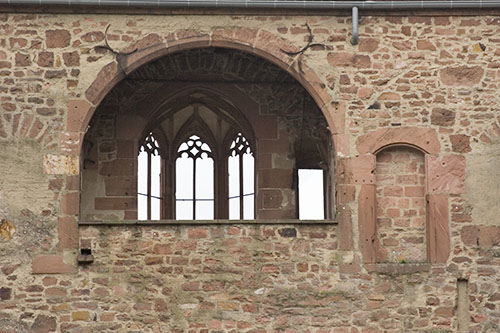
Now it looks more natural.
The noise is in the shadows
If opening up the shadows had no side effects
we would have the ideal camera with unlimited dynamic range. But the
reality is that all the worst noise shows up in the shadows (remember
that the Canon 20D has some of the lowest noise of all DSLRs).
Here is the noise visualized by using Shadow Illuminator
at its max settings (never use this for real images but noise can be
seen very easily that way):
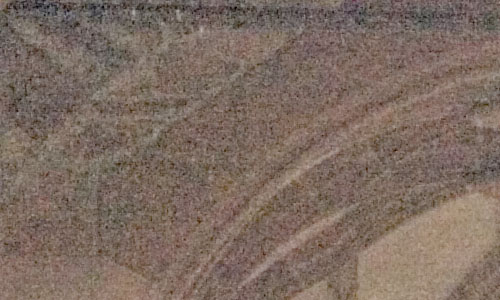
Noise of the original image at 100% magnification (processed with ACR
2.3)

Noise slightly reduced using the Helicon plugin
at 100% magnification
So be careful not to brighten the shadows
to much and use a top class noise reduction application like Noise
Ninja, Neat Image or Helicon. All the major raw converters are not
really good enough in reducing stronger noise.
We find that Shadow Illuminator gets
us a lot easier to the results we want than any other shadow tool we
have seen so far. Here is an other example:
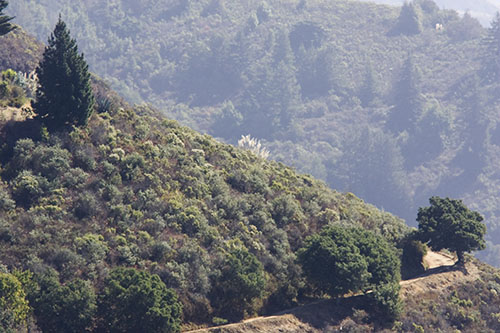
Before
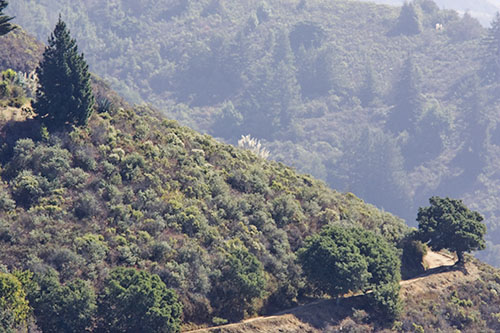
After
Best you get a demo
version and play with it. We hope that the developers
make the demo watermark a bit less aggressive so that you can better
evaluate the effect. Noise show up!
There is a nice side effect of Shadow
Illuminator. If used at max levels you can easily show the noise in
images for analytical purposes. We plan to use Shadow Illuminator for
our future noise tests.
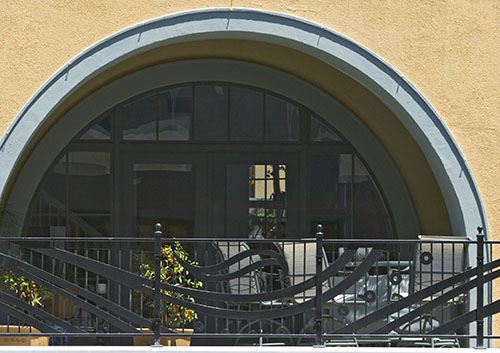
1Ds file (ISO 160) opened up in Shadow/Highlight
Here is a crop of the original file and
you can see the noise at high magnifications:
100% magnification
Using Shadow Illuminator at max settings
makes the noise analysis much easier to even see at 100% magnification. 
THe brightened shadows visualize all the noise
If you want to be able to open
up later some shadows in you images it is wise to stay at low ISO levels
as even then the shadows will have more noise than you might expect.
Conclusion
At a short period of time Shadow Illuminator
has become an integral part of our workflow.
As mentioned above you can get
a demo version here.
Highly Recommended |