We often use S-Curves to enhance
contrast. This is actually just fine if we don’t have any problem
with darkened/blocked shadows or aggressive highlights. But often you
want to improve the contrast without damaging the shadows and highlights.
Note: For many images the differences may be subtle
but still strong enough to make improvements to your images. Best you
try these techniques
yourself. To show the differences we use the  symbol
to indicate that a mouse over will show the previous or original image
(move the mouse cursor slowly in and out of the image). symbol
to indicate that a mouse over will show the previous or original image
(move the mouse cursor slowly in and out of the image).
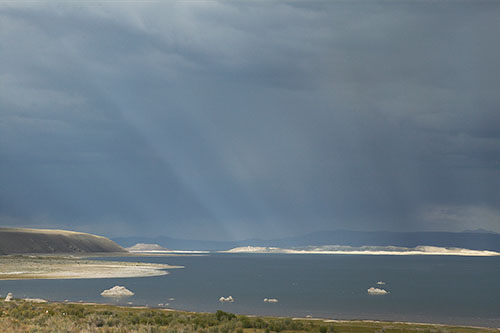
Mono
Lake
We would like to add some midtone contrast to the above image. A
good tool to use is PS Shadow/Highlight.
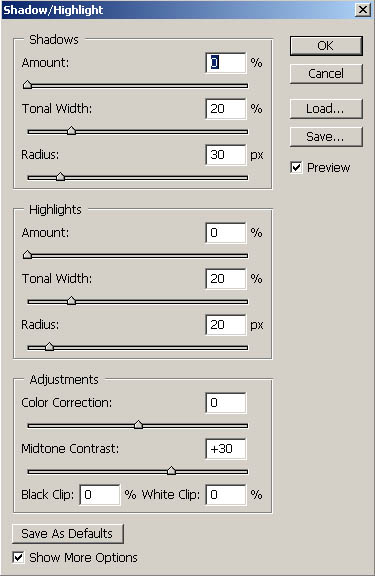
Shadow
Highlight
We set all values to zero except the midtone slider.
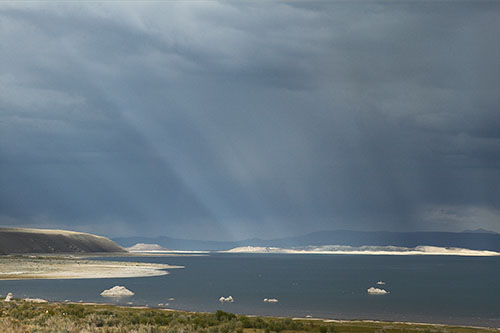
After Shadow/Highlight 
In our
workflow we actually perform this operation on a layer. (We
describe in our ebooks how to make use of a layer based workflow).
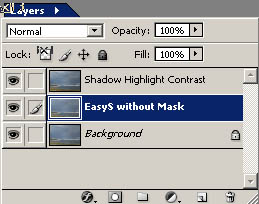
Shadow/Highlight Layer
This way we can even make the contrast to strong and adjust the strength
via the opacity of that layer.
While this is a good solution it lacks the flexibility we want because
Shadow/Highlight cannot be used as an adjustment layer. That is
why we use a curve adjustment layer that comes close to mimic the midtone
contrast in Shadow/Highlight.
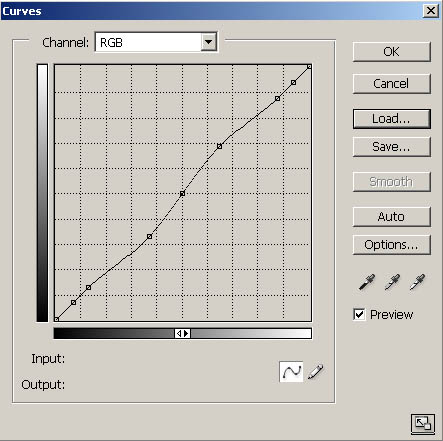
Midtone Contrast Curve
We lock the curve in the shadows and the highlights to protect
these important areas of our image.
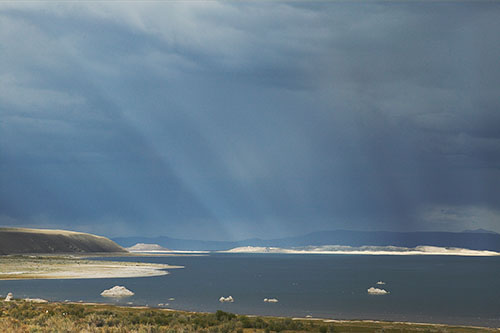
Midtone Contrast Curves Layer 
There is one general problem with using S-Curves to enhance
contrast. At the same time we add contrast we also shift
the colors and
this may be welcome or even not. By setting the Blending
mode of this
layer to Luminosity we avoid this shift.
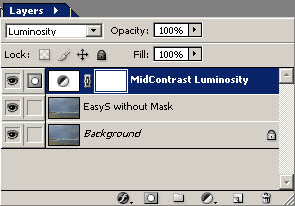
Layer set to Luminosity
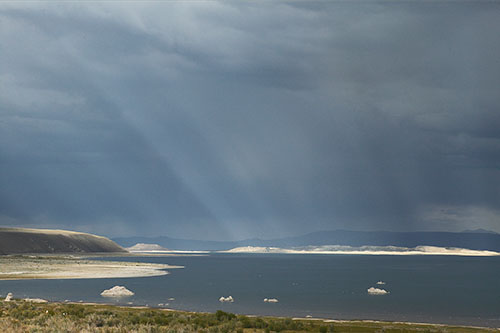
After
Layer
set to Luminosity 
Often the truth is that you may like some of the color shift
but not all of it. This is not to difficult to achieve. We
duplicate the curves
layer and set the copy to Blending Mode “Color”.
Now you can control the color shift by setting the right
opacity (we
used 50%
in our example).
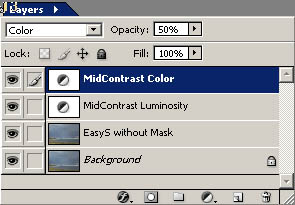
Controlling Color via opacity
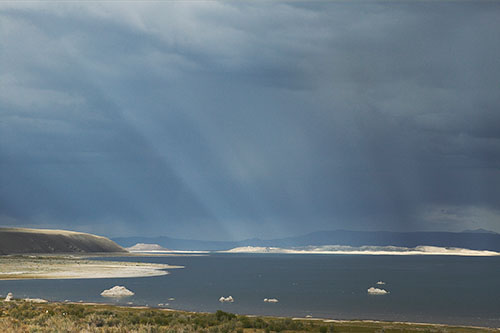
Final tweaked image

If you use this technique we would advise
you to sharpen first as you then can tweak the contrast and colors
by adjusting
the two layers any time later:
• Opacity
• Variations of the midtone contrast curve itself
|