Dust spots on the sensor are the one of the darkest
sides of digital SLRs. We use now for a long time the Healing Brush
in PS (since version 7) to remove dust spots pretty fast (we describe
the
use in our handbook). But spotting the dust spots can be tricky. A
recent case let us look for some nice technique.

Original sky (100% magnification)
You see a few dust spots, right? No wrong
there are lots (photo taken at F/13)! Why bother if you hardly can
see them.
1. They show easily in prints
2. And also if you do some image manipulation
like this one (using an IR filter simulation)
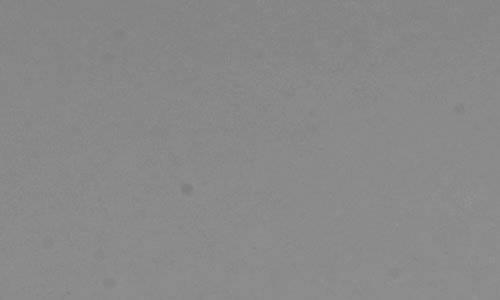
Dust after use of a strong effect filter
To findt all these dust spots more easily
just put a temporary curves adjustment layer on top of the layer you
want
to
clean
with
a curve like this:
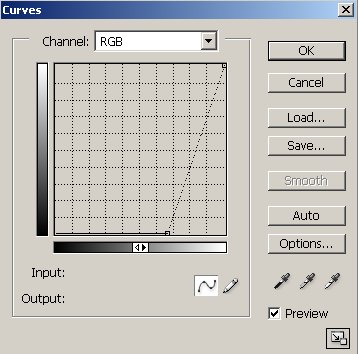
Temporary Curve
Now you can see all the spots way more
easily and start your cleaning/healing.

Curve makes dust more visible
After your work is done just discard
the curves layer.
Improved Dust Removal with Photoshop
CS2 "Spot Healing Brush"
Photoshop CS2 introduced the new
Spot Healing Brush. The Spot Healing Brush does not need a source
area.
It takes all the information to heal a spot from the area near
the brush itself.
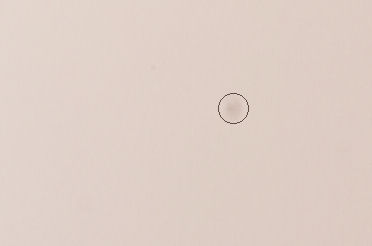
Dust spot with Healing Spot Brush (100% magnification)
We use a brush that just covers the
dust spot and click. Voila the dust spot is gone:
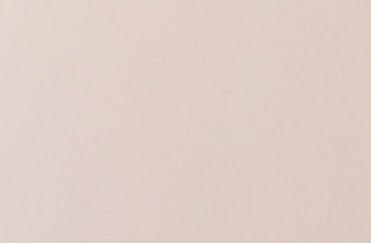
Fixed dust spot
We now use 95% of the time the new
Spot Healing Brush and it speeds up our retouching work quite a
bit.
Revised technique
We recently realized that we often
found additional dust spots when we converted the images to B&W.
This is why we now use the following technique.
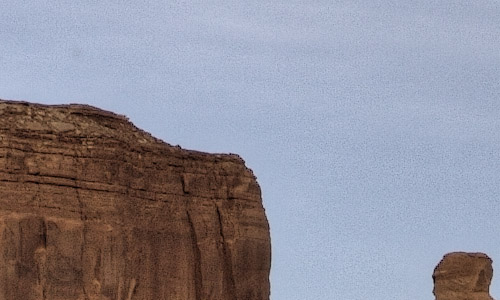
Crop with dust spot
Above the layer we spot we place
two helper layers
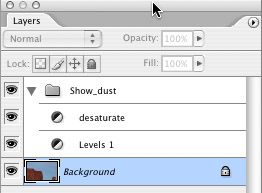
1. Levels layer to darken the bight
content:
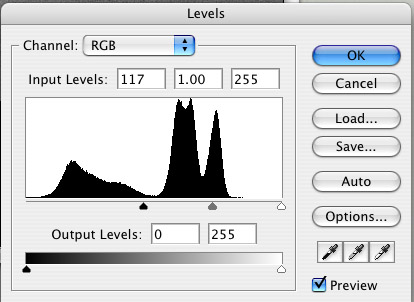
Levels layer to better show dust spots
Which will result in images like
this:
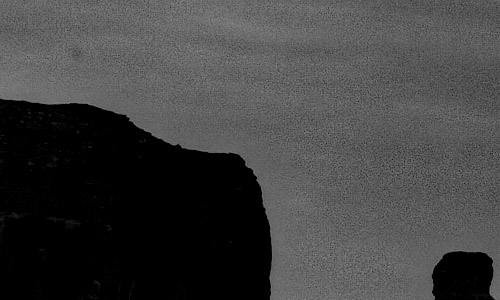
View for dust spotting
Now select the layer you want to
correct and use the Spot Healing Brush. Once you have done your
work just
remove or disable these helper layers.
|