During the recent weeks we spent many hours converting
color images to B&W and tried nearly all methods in Photoshop known
to mankind (and maybe some new ones too). In the end we came back to
use PowerRetouche
Black & White Studio.
This is not a tutorial as it can be found here. 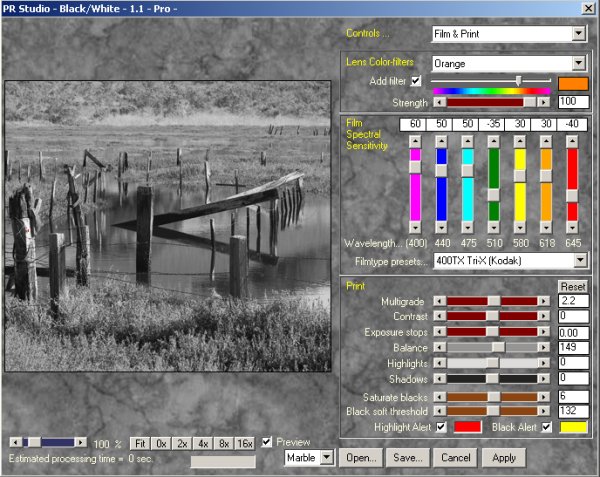
B&W Studio in Film Mode
This is a complex tool but so is the
task at hand. What we like about B&W studio that is simulates the
process that would happen using B&W film.
Spectral Sensitivity
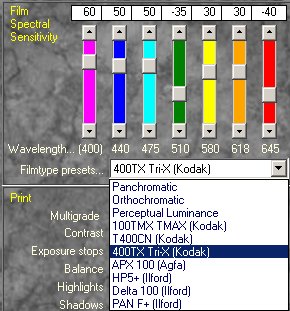
Simulate Spectral Sensitivity
Different B&W films have different spectral
sensitivities. B&W studio lets you select from some presets and then
even let you control the seven sliders yourself. We use TriX most of
the time. But in some cases we like to show e.g. blue darken then we
change the values. All settings in B&W studio can be saved and loaded
back.
Filters

Filter Simulation
Then B&W studio lets you simulate different
filters (like the ones you used with B&W film.
Print
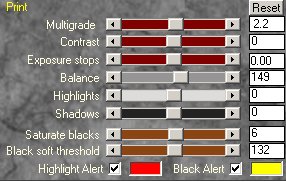
Print simulations
The print settings really set B&W Studio
apart from most other solutions. We just want to mention a few:
- Multigrade: You can control the "hardness" of
the B&W photo (not quite the same as contrast).
- Contrast: Contrast on top of controlling "hardness"
- Exposure Stops: This is crucial as the conversion
process might blow out highlights
- Highlight/Black Alerts: Set highlight alert to
on and then eliminate blown highlights with the exposure slider.
Zones Mode
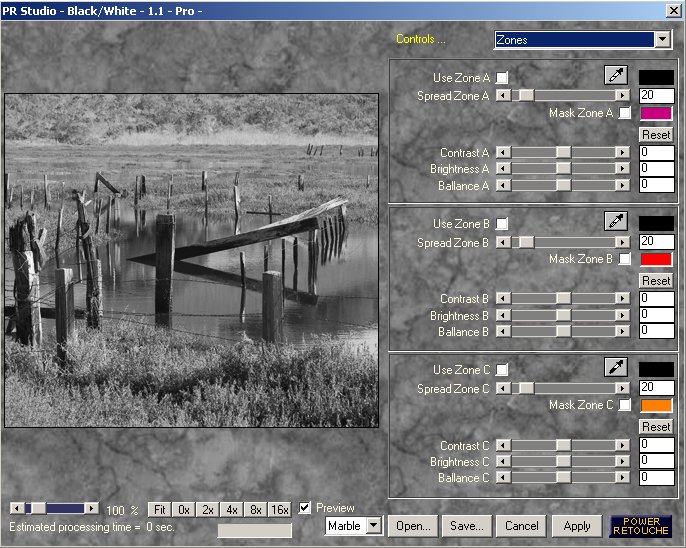
Zones Mode
The zones mode is a world by its own.
We do not use this mode yet as we like the film mode.
Sample
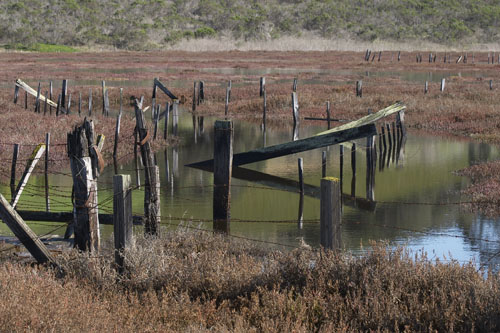
Elkhorn Slough
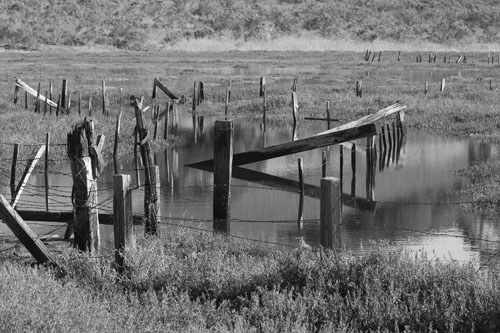
Converted with the shown settings
Conclusion
With the new resizable large preview
this is a very good B/W plugin.
B&W Studio is available for PC & Mac
and also works in PS elements 2.
Highly Recommended
|