We followed Nikon Capture from it's early version
1.0 for the Nikon D1:
For the record we own Nikon D1, D100, D1x and just now test the Nikon
D2H.
Already the version 3 of Nikon Capture (NC) was a solid raw converter
and Nikon Capture 4 improves on it. We don't want to repeat many things
we said about NC 3 and only talk about more recent observation in NC4.
Please read the full review about NC 2 and 3.
Nikon View 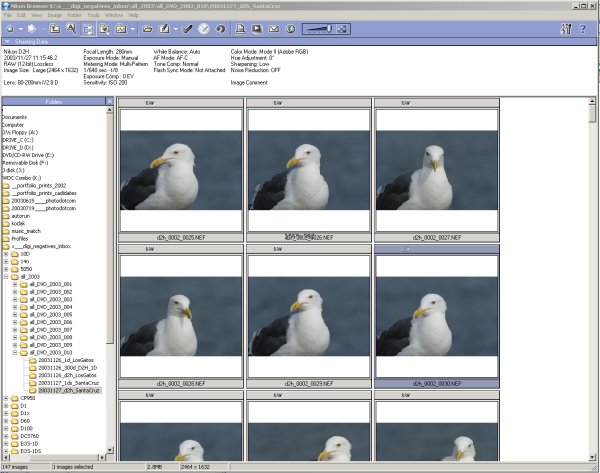
Nikon View 6
Nikon Capture 4 uses Nikon View 6 as
it's image browser. Nikon View is a nice image browser with large thumbnails.
You can launch images into NC 4 from Nikon View. This is all that matters
for us in Nikon View as we use Thumbs Plus 6 or Photoshop CS as our
main image browsers.
Nikon Capture 4
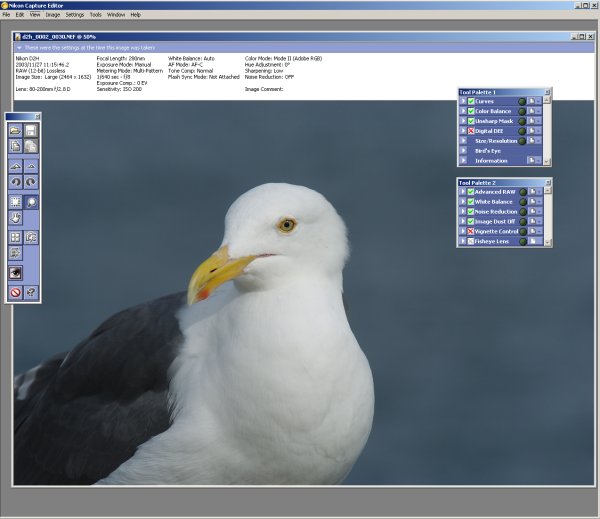
Nikon Capture 4
Nikon Capture 4 has to be bought extra.
NC 4 is a very powerful and feature rich application. Actually we think
that NC 4 is one of the best raw converters that are made by a camera
manufacturer (Sigma's Photo Pro is not bad either). Nikon takes NC
and the RAW (NEF) format very seriously.
Some Highlights
Curves
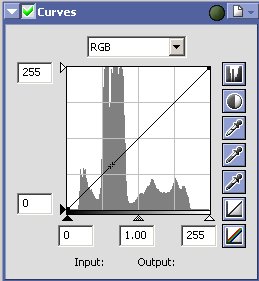
NC 4 Curves
The NC 4 curves show a histogram that
we always wanted to see in Photoshop. As mentioned in earlier reviews
we only use the histogram as our main tool is Photoshop CS for further
enhancements. Although NC 4 can show also the channel histograms we
would like to have an option to view the 3 channels here in the overview
(ACR, C1 and Photo Pro can do this).
Digital DEE
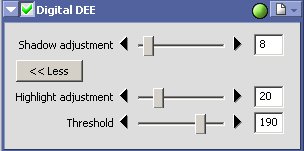
Digital DEE
We want to see this kind of tool in all
raw converters.
From the NC 4 help "correcting for underexposure
in back-lit subjects or shaded areas of images and for overexposure
in
brightly lit areas."
Actually there are equivalent solutions:
- Photoshop CS Shadow/Highlight
- Kodak SHO Pro (this is as far as we know the basis for DEE but
the Kodak version works only 8 bit)
- Sigma Photo Pro Fill Flash
The downside of DEE in NC 4 is that it does not work in real-time.
Whenever you change a value you have to wait a couple of seconds for
processing. But even then this is a very useful and needed tool. Is
also shows Nikon's dedication to deliver a first class raw converter.
Advanced RAW
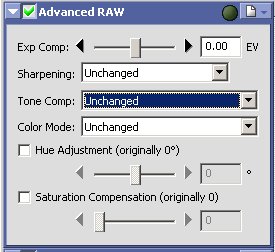
Advanced RAW
Advanced RAW is essential to correct
exposure, sharpening, Tone Compensation and Color Mode (we set it to
Adobe RGB in the camera).
The setting of the Tone Compensation allows to select a tone curve for best contrast:

Tone Comp
Most of the time "Normal" works for us
but there are times where "Less Contrast" can be helpful. Actually
you can do the same using DEE.
We set sharpening to "Low" or
even "Off" and perform sharpening in later in Photoshop.
White Balance
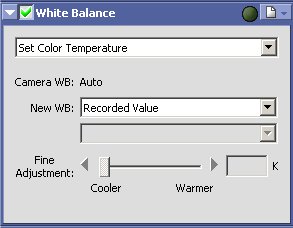
Set Color Temperature

Set Gray Point (click gray/white)
The WB tool in NC 4 is very powerful
and works fine. We would like to need some fewer mouse clicks though.
Noise Reduction

Noise Reduction
We do not find the noise reduction in
NC 4 very helpful as it easily also blurs details. But in any case
for higher ISO images we recommend tools like Noise
Ninja and Neat Image.
Image Dust Off

Image Dust Off
We use the Photoshop Healing Brush with
great success and would like to see hardware solutions that prevent
dust sports in the first place.
We tested this feature for the D70 and
are less than impressed. See
our review here.
Fisheye Lens
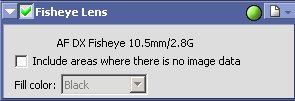
Fisheye Lens
Nikon has a new AF DX Fisheye 10.5mm
f/2.8 G and this delivers images like this one:
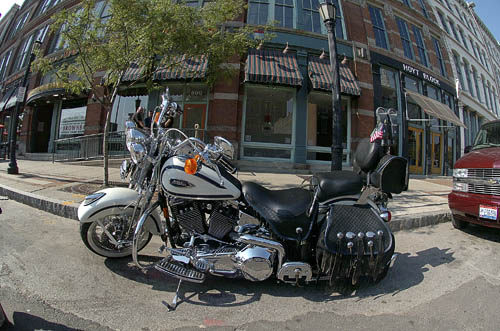
Shot with a pre production D2H
The new "Fisheye Lens" filter in NC 4
can correct the perspective of these shots:

Crop from the corrected image
Fun to use lens and the "Fisheye Lens"
filter makes it even more useable.
Workflow |