Motivation
We looked for some fine detail improvements with our aerial photos. We were not certain whether the detail was not there in the first placebecause we shot from over 1,000 ft height over warm air, or we could improve. It turned out we could do better. Fine Detail Sharpen adds this extra fine detail on top of our usual sharpening (DOP Optimal Sharp) and is by no means a replacement. It also turned out that we like Fine Detail Sharpen on most of our other images now.
Installation
The DOP Optimal Sharp comes as a Javascript file for Photoshop CS3/CS4/CS5 (we only support CS3/CS4/CS5).
- Full version is named: DOP_FineDetailSharpen_V001.jsx
- Demo version is named: DOP_FineDetailSharpen_V001_Demo.jsx
Installing the script
The scripts need to be copied to the Photoshop CS3/CS4/CS5 folder and here to Presets/Scripts (or to the equivalent locations for other languages). After restarting CS3/CS4/CS5 you should find the script under File->Scripts. If you do not find it there you did not put the script into the proper location.
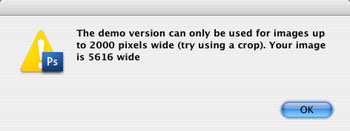
Note: The free demo version can only handle images up to 2000 pixels wide. The commercial version does not have this restriction. You will get this warning message if you use larger images with the demo version:
Using DOP Fine Detail Sharpen
Using the script
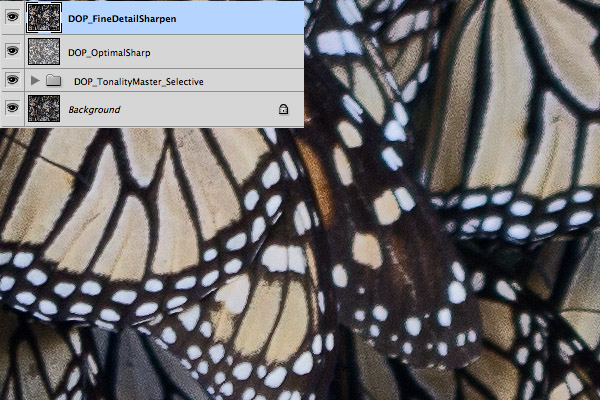
Using the script is simple. Best you have the top layer selected and collapsed if this layer is a Layer Group. Run the script from File->Scripts. There is no user interface.
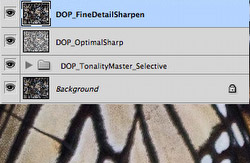
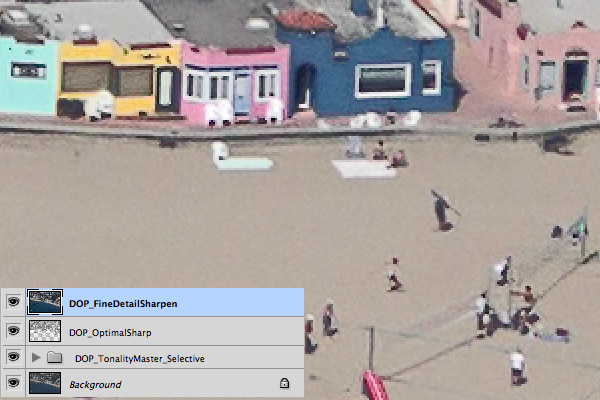
The script creates a new layer called "DOP_FineDetailSharpen" on top of the layer stack
If the effect is too strong you can Lower the opacity of this layer.
Sample Workflow with Fine Detail Sharpen
Example 1
We show the effect of Fine Detail Sharpen with this image:
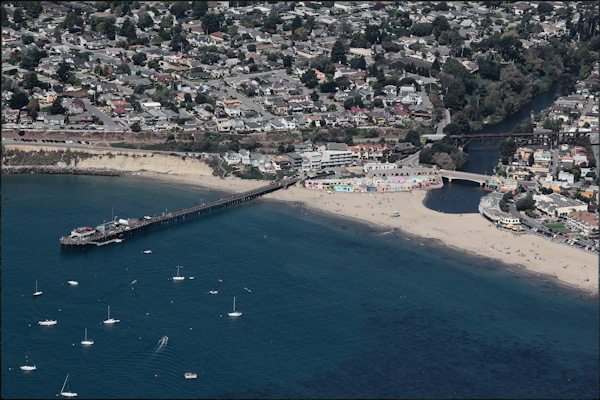
Capitola (final result)
For the first sample we show the sharpening at 200% pixel view. Be assured that you can also see the effect at normal viewing magnifications but you would hardly see what made this change.
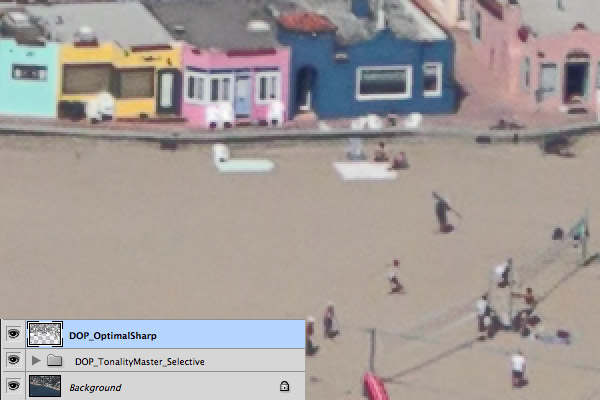
Image after Optimaql Sharp (remember this is 200%)
We then add the Fine Detail Sharpen layer.
With Fine Detail Sharpen
If this would amplify the noise to much for your taste you can use the following technique. Make the Fine Detail Layer a Clipping Masks.
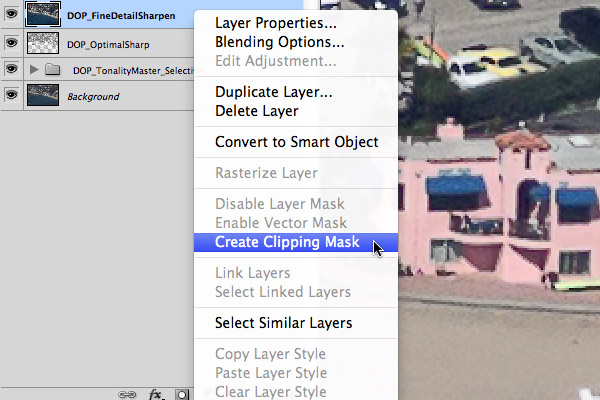
Creating a Clipping Mask
What is a Clipping Mask? A Clipping Mask only adds the effect (here Fine Detail Sharpening) to just the layer below. This adds the Fine Detail Sharpen to the Optimal Sharp layer and the effect will less strong because Optimal Sharp uses a noise mask.
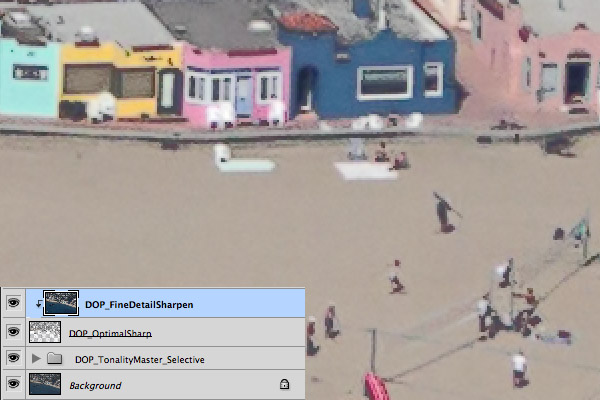
Fine Detail Sharpen as Clipping Mask
Example 2
This time we show at 100% and start again after applying Optimal Sharp.
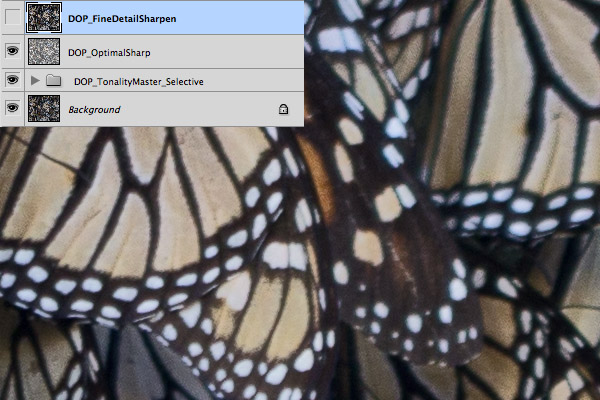
Start after Optimal Sharp
After Fine Detail Sharpen
Conclusion
Now we have to rework nearly all aerial photo we ever did. Lots of work to do but the results make us happy.
As always try before you buy. |