If we shoot indoors with windows or openings to the outside we always shoot HDR. This often also requires an ultra wide angle zoom.
Panasonic GH2 and 7-14mm f/4 Zoom
At first the GH2 (our review notes) seems to be a bit limited for HDR (only maximum 1 EV steps, the GH1 was even more crippled with only 2/3EV steps). On the other side the GH2 allows up to seven shots in AEB mode (Canon 5D Mark II is limited to 3 shots in AEB, although at 2 EV steps).
The Panasonic 7-14mm f/4 zoom (our field note) is close to ideal in such situations. Yes, this lens is expensive but if you compare it to the competition it seems to be worth its price.
Setting up the Shot
We have now taken many HDR shots with the GH2 and the 7-14mm f/4 and get more and more happy with its performance.
Here is our GH2 setup for HDR
- Use sturdy tripod, head, clamps and plates
- Set bracketing to 7 shots with 1EV steps
- We often use an EV correction of -1 to -2 EV to make sure that the most underexposed shot does not clip
- Set the GH2 dial to AEB bracketing
- Use a wire remote DMW-RS1 (not expensive)
- Level your tripod with a leveling base (this makes perspective corrections much easier)
We use the Acratech Leveling Base (here at B&H)
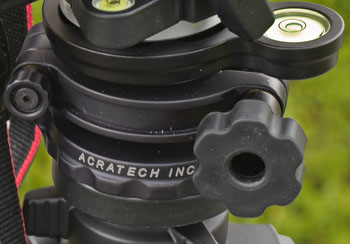
Acratech Leveling base
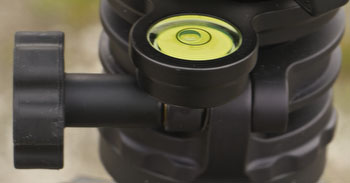
Nice large bubble level
- We then release the shutter via the remote. Hold the button till all 7 shots are taken. The camera actually may pause because the buffer is full in between.
Creating the HDR image
We always start from Lightroom. here are the 7 shots:
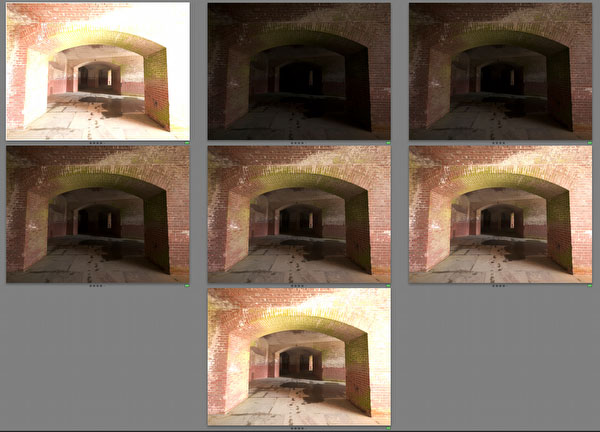
7 shots
We always create a stack with all the exposures.
Note: Normally GH2 shoots them from darkest to brightest. We then put the brightest exposure on top of the stack. Why? With the darkest exposure on top of the stack you cannot check the image content if the stack is collapsed.
We then analyze the image histograms in the stack and may only use a selection of the images. In this case we only used 3 shots (2EV apart). Most often we use 4 shots though.
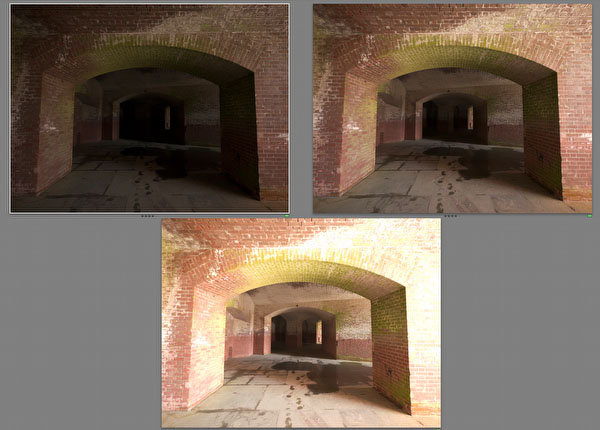
Selected images for this project
In this project we we call from Lightroom Unified Color HDR Express (our review) or HDR Expose.
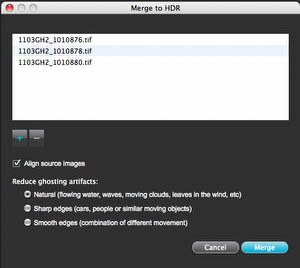
Align checked
Tonemapping
Tonemapping was performed in HDR Express:
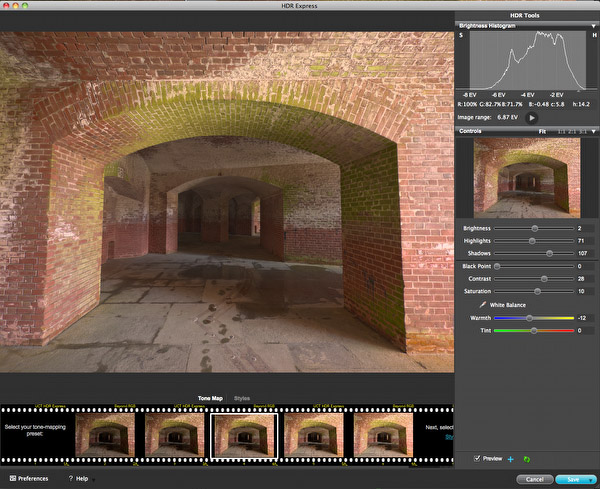
HDR Express
Further Processing in Photoshop CS5
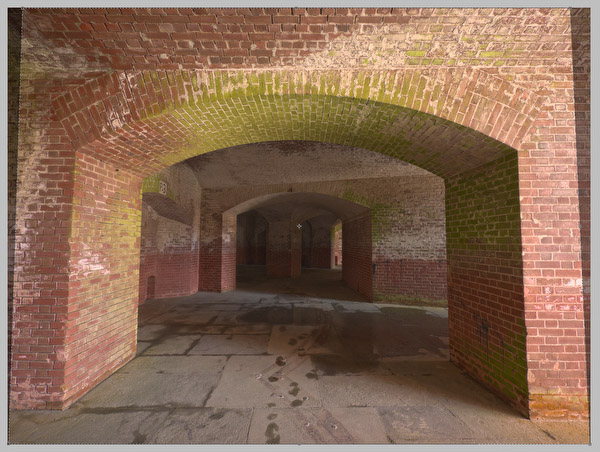
Perspective Crop
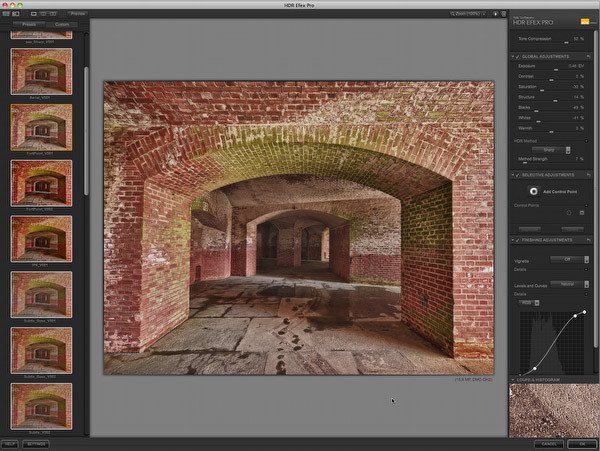
HDR Efex Pro using a variation of the "Sharp" method
Note: You may ask why we did use two different HDR tools? We think HDR Express is easier to use for a good "natural" image look while Nik HDR Efex Pro helps us with adding the final look we like.
- Tuning the result from HDR Efex Pro
It is often difficult to get the right balance of colors (e.g. saturation) and tonality in HDR Efex Pro. That is why we split the resulting layer into a Color and Luminosity component using our free "DOP Split Luma Color" script.
Note: We personally use this script for a long time (>2 years). We made it available for this article as it is a great sample case.
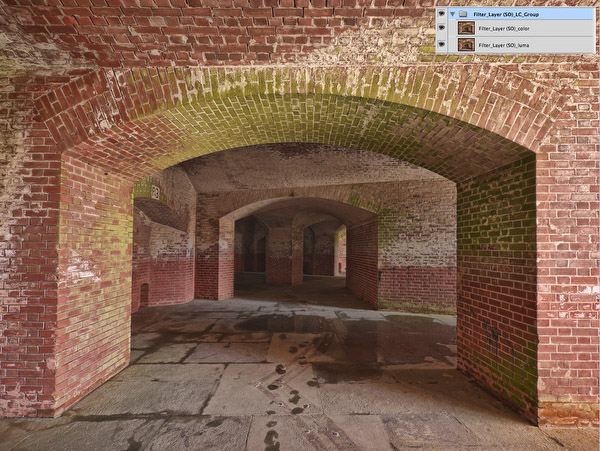
After the tuning step
- In this case we wanted the shadows even more open so we used CS5 Shadow/Highlight for final shadow treatment. This is of course highly subjective.
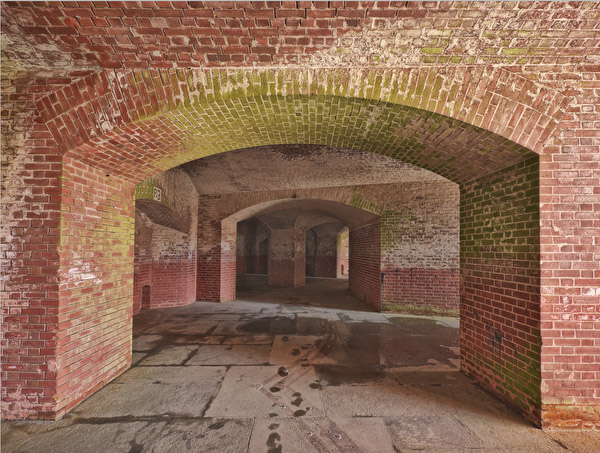
Final Color Image
B&W Version
If we wanted to have a B&W version we would use Nik Software Silver Efex Pro 2 for the B&W conversion.
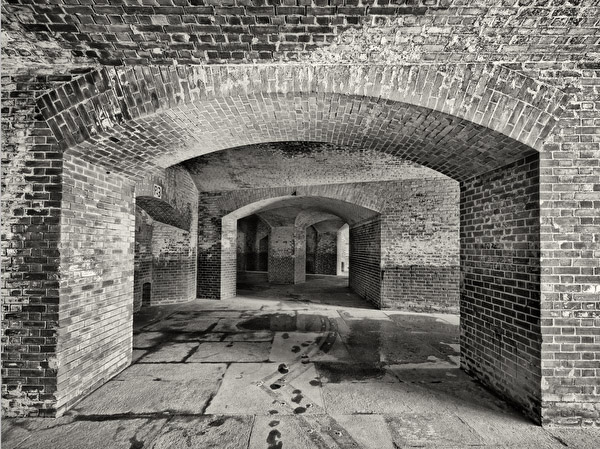
B&W Version
Conclusion
We have used this workflow on numerous images and are quite happy with it. The GH2, 7-14mm f/4 zoom and our workflow getting us as good or better results than ever before.
Our New HDR Portfolio |