Motivation
We often want to get the same kind of look to a series of images. In this case creating new blends always from scratch is a waste of time. This article explains how to create and use Texture Blending templates.
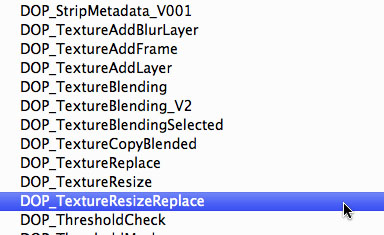
You need to own the following scripts:
Creating a Texture Blending Template
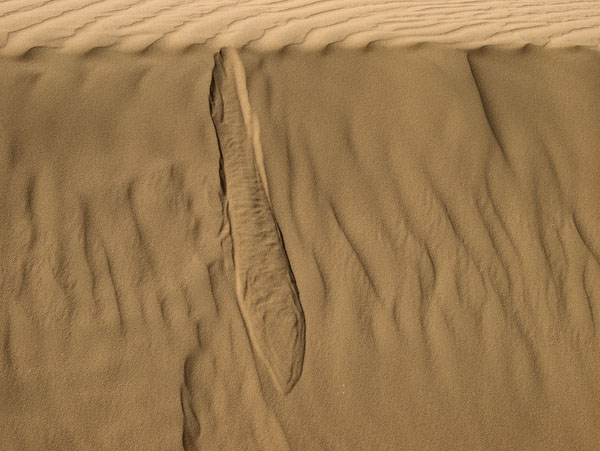
We used this dune image:
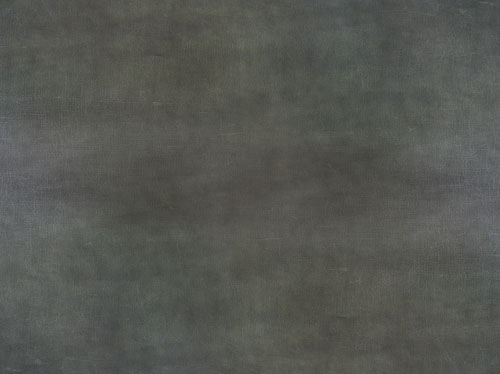
and this texture:
Then just create a blend with our Texture Blending script:
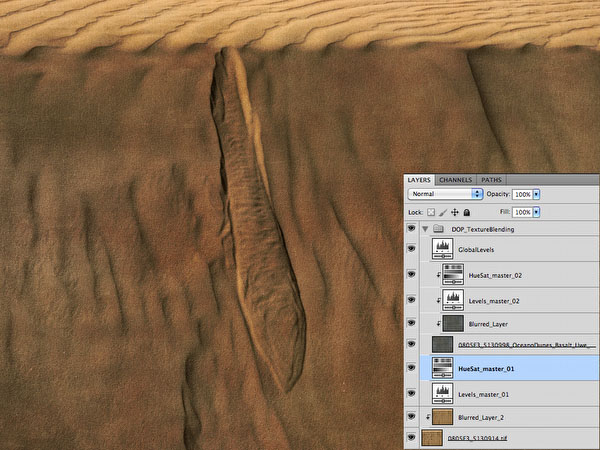
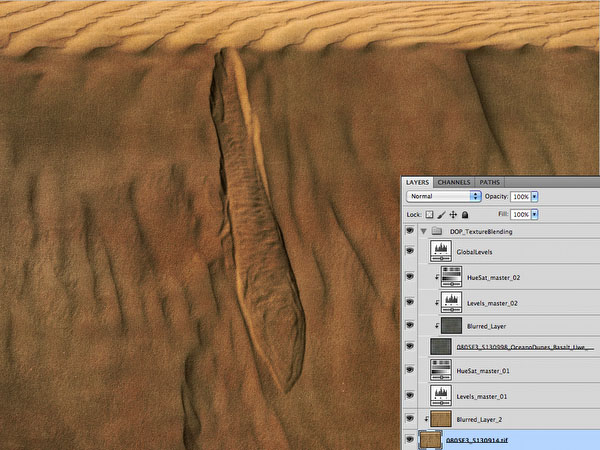
Blended image
The layer stack you see was created by the DOPF017 Texture Blending script. We tuned then the settings and added the "Blurred Layer 2" (second layer from the bottom) with the TextureAddBlurLayer script (comes as part of the DOPF024 Texture Blending Tuning Kit). The "Blurred Layer 2" is required if we want to use the same layer stack as a template.
The image with the complete layer stack gets saved as a PSD of TIFF file. From now on the image can be used as a Texture Blending Template.
Using the Texture Blending Template
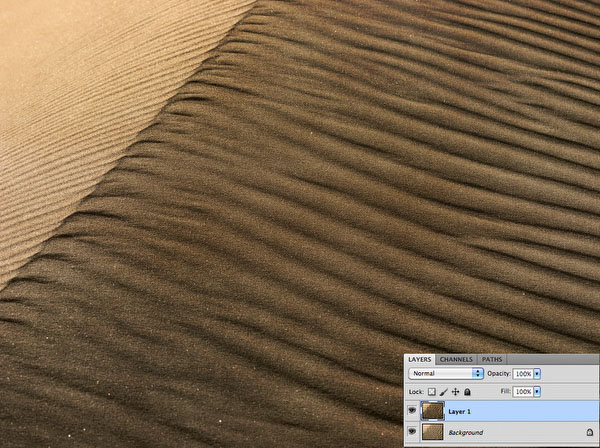
First we select our new image (the one we want to blend):
Now we open the template image and select the bottom layer (with the main image). Remember all Texture Blending scripts require you to have exactly two images open in Photoshop (CS3-CS5).
Template with bottom layer selected
By using the TextureResize and TextureReplace scripts from DOPF024 you can replace the main image in the template.
Note: One of the extra scripts "TextureResizeReplace" does it in one step (actually calling both scripts for you). We like it as simple as possible.
After these scripts did their work we get the new image:
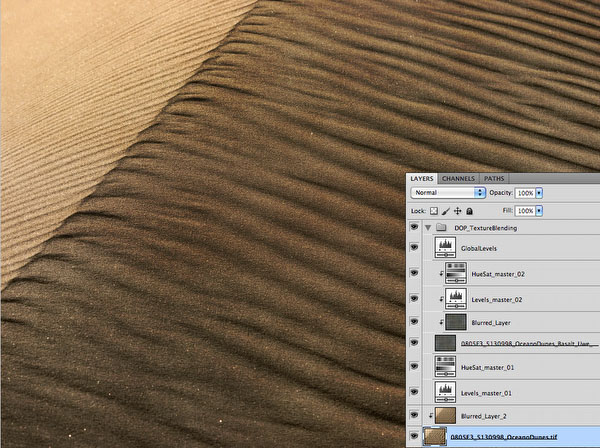
Template got applied to new image
After we applied the template we usually fine tune our texture blending settings. This is much faster and more consistent than starting from scratch.
What about the Metadata
In principle our image is ready. There is one issues though. The image created with the template will have all the metadata (e.g. EXIF) from the original image used to create the template and this can be quite confusing.
We found a solution that helps to minimize the problem. The second extra script is called "TextureCopyBlended". It performs the following operations:
- Makes a copy of the newly blended and fine tuned image
- Flattens the content
- Adds this as a new top layer onto the original new image

Blended layer on top of the original image
In this case we lose the layer stack information for future fine tuning but it is also not hard to recreate the result from the template. On the other side all the meta information is correct.
Sample Gallery as a Result of using Templates
Conclusion
Texture Blending Templates have proven to to save some work if you want to reuse previous blending settings.
We spend a lot of time to help making the workflow efficient by creating new scripts. In this case the two new scripts even come for free.
Happy Blending! |