Getting optimal highlights is one of the more challenging parts for the exposure and image post processing. We show a possible workflow to optimize you highlights.
We are talking not about highlights that are so badly clipped that they cannot be recovered in the RAW converter. We assume the highlights are there but need to be fine tuned.

Start image
This image does not have clipped highlights but the highlights are a bit too aggressive. In these situation we use our DOP Highlight Resolver Script. Here is the result:

After Highlight Resolver
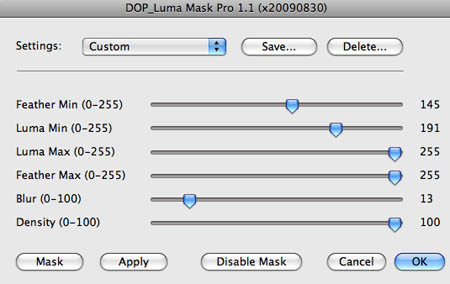
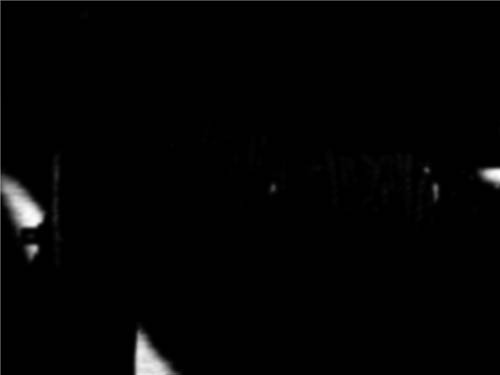
As you can see the highlights look much better. But we find in this case that the corrections reach too much into the upper mid-tones. That is why we add a highlight luminosity mask with our DOP Luma Mask Pro tool.

Settings used

Creates this mask

Final Result
Because the differences are quite subtle (it is all about being subtle dealing with optimized highlights) we show with two crops the different stages. From top to bottom:
- Start image
- Highlight Resolver no Mask
- Highlight Resolver with Mask
Conclusion
The Highlight Resolver can help to bring more textures into the highlights. Adding a highlight luminosity mask with Luma Mask Pro allows to optimize the result. Give it a try. Both tools are available as free demo versions.
|