Installation
The DOP PerspectiveCropHelper V1.0 comes as a Javascript file for Photoshop CS3 (we only support CS3 right now but chances are it works also on CS2).
- DOP_PerspectiveCropHelper _V1.jsx (demo version is named: DOP_PerspectiveCropHelper_Demo_V1.jsx)
Installing the script
The script needs to be copied to the Photoshop CS3 folder and here to Presets/Scripts. After restarting CS3 you should find the script under File->Scripts. If you do not find it there you did not put the script into the proper location.
Note: The free demo version can only handle images up to 2000 pixels wide. The commercial version does not have this restriction.
Using the DOP PerspectiveCropHelper
Using the script
Using the script is simple. Cropping is done early in the editing workflow (but after lens correction). We perform the perspective crop on the background layer. Open the script from File->Scripts
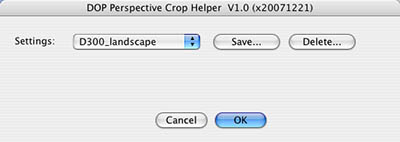
Performing a Perspective Crop
The actual perspective crop is performed using the Photoshop Crop tool and at first it may not be obvious why you may want to the PerspectiveCropHelper.
We start with a short tutorial on how to use the Photoshop Crop tool.
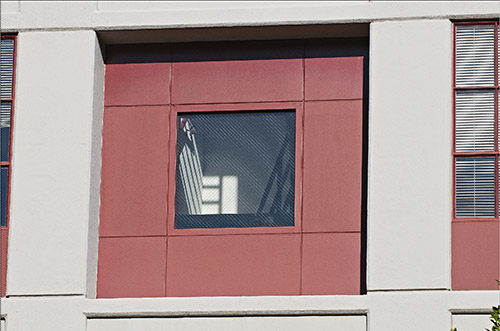
Start image
There are endless situation where you take picture (like the above) that show massive perspective distortions. The purpose of the Perspective Crop is to correct some of these distortions. There are quite a few ways to do this in Photoshop. We finally settled using the Perspective Crop most of the time.
Step 0
Before you create a perspective crop you need to correct for all lens distortion first (we use PTLens or LensFix).
Step 1
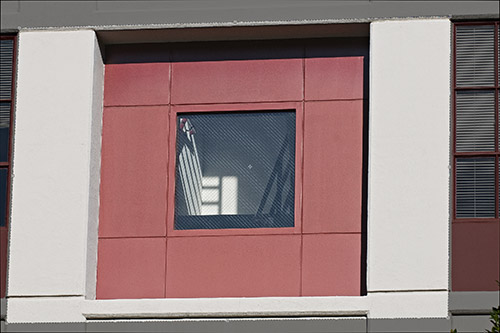
Step 1
You select the Crop Tool in Photoshop, select a crop region and enable the perspective option (the PerspectiveCropHelper does it automatically for you). In step 1 you try to align all four sides of the crop to lines that should be vertical/horizontal in the final corrected image. Once this is done proceed with Step 2.
Step 2
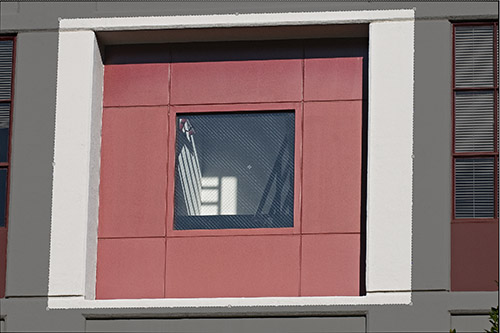
Step 2
You then move the top, bottom, right and left (using the middle handles) in a way that define the final area in your image. Then hit return (due to a bug in the CS3 scripting you need to hit return twice using the PerspectiveCropHelper).
Resulting Crop
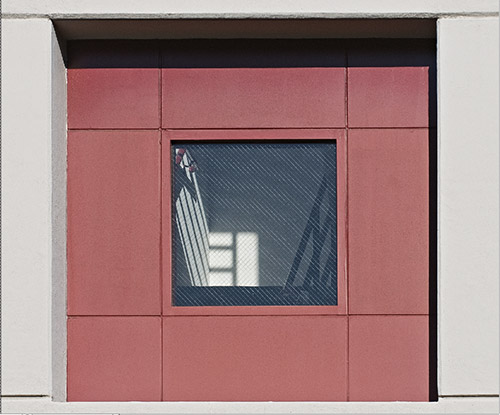
Result
So far there is no need to use the PerspectiveCropHelper, if you get the crop correct the first time. Unfortunately this is not very often the case. You may be slightly off the first time (our example is very easy and there are way more challenging situations).
Lets assume you are slightly off like here:
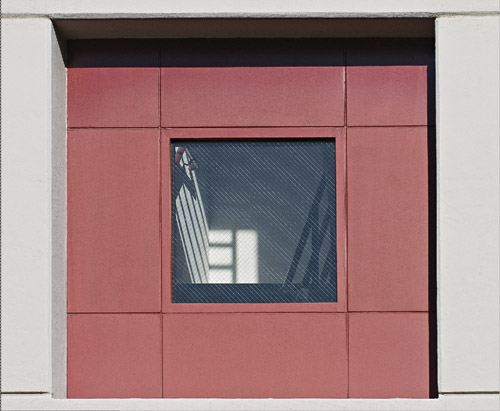
Off correction
You may think this is no real problem and just undo the step. Right, but you are than back to square one and have do all the settings over again and may miss it again in a different area. What we need is a way to get back to the crop before you hit return.
This is exactly what the DOP PerspectiveCropHelper does for you.
Instead of selecting the Crop tool directly you call the DOP PerspectiveCropHelper script:

The purpose of this script is very simple: it remembers your last crop. This way you can iterate to get the best crop possible:
- Call script (hit “ok”)
- Define Crop (see steps 1+2)
- Return (on Mac 2x return)
- Inspect result
- Undo if needed
- Call script again (hit “ok”)
- Last crop comes back
- Fine tune crop
- Return (on Mac 2x return)
- Continue until you are satisfied
As mentioned this is a very simple functionality but it makes a world of difference for your real work (you have less stress to get it right the first time)
Presets
You can also save your own presets to have a good starting point for your different camera images.
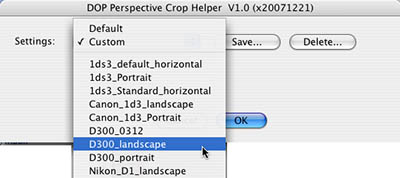
Presets
Here is how it works:
- Open a file from your camera (landscape and portrait makes a difference)
- Call script
- Create a default crop for this scenario
- Confirm with return (on Mac 2x return)
- Undo
- Call script again
- Save named preset
How to order or get a Demo
You can order DOP PerspectiveCropHelper 1.0 or get a free demo version from here.
|