Disclaimer: This tutorial uses quite a few of our own commercial products. You may say this sounds like self pure marketing. This is right and wrong. First of all marketing is needed. On the other side this is how we do things. All our tools are developed from the desire to improve our own workflow. Then we make them available to our users. We know there are many ways to get good results. We can only report about things we really do.
With our new home in Hollister, CA we live in an area of truly beautiful oak hills. Making good oak photos is challenging. Besides finding the right trees (luckily not too hard in San Benito County) the key is to find interesting skies. Normally we try to avoid sky at nearly all cost but oak trees show their shape best against a sky. The California gold standard is blue sky. Nice for your mood but not ideal for photos. Also harsh sunlight introduces hard shadows. The ideal light seems to be either a storm behind the trees (check this one from our SmugMug galleries) or light hazy overcast.
Note: Images look often darker if they are small. The images we show are meant for printing. Even then making the right decision on brightness is very subjective and often not that easy.
The sample here discusses how to get the most out of your sky at light hazy overcast.
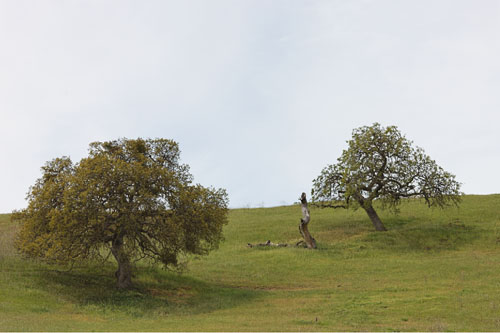
out of the RAW converter
The trees look so dark because the sky looks just washed out. Here is our workflow to help in this situation. Important is that no white is clipped from the RAW converter.
1. Tone down the sky
We use our DOP Highlight Resolver to get a bit better blue in the sky.
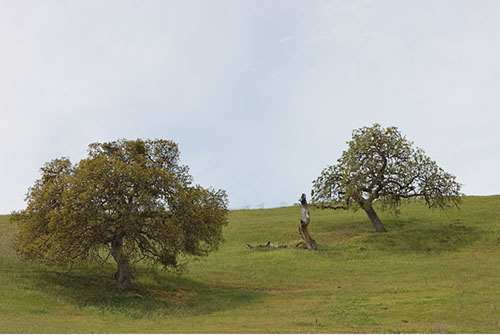
After Highlight Resolver
The changes are subtle but important.
2. Using Photomatix Tonemapping (Advanced)
We think that the Photomatix Details Enhancer is the best tool in these situations. We use the photomatix plugin with our DOP Advanced Tonemapping script (you can also use the DOP LC Tuning).
Here are our settings in the Tonemapping plugin:
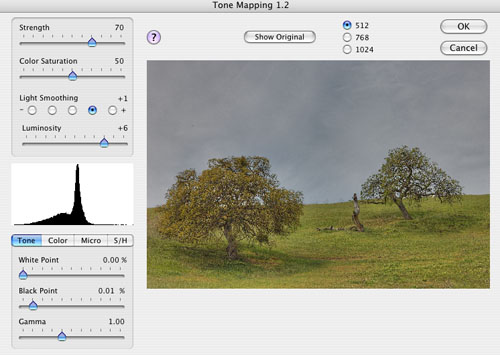
and the resulting image:
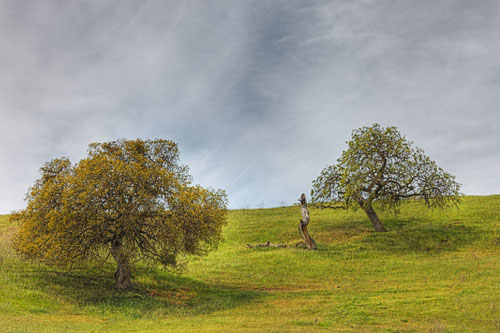
You can see that the sky comes to life. But we want the saturation and the brightness changed in the foreground. This is what you can do with our DOP Advanced Tonemapping script. We use the photoshop Color Range tool (much improved in CS4) to mask the sky and use this mask as a layer mask for the layer group created by the Advanced Tonemapping.
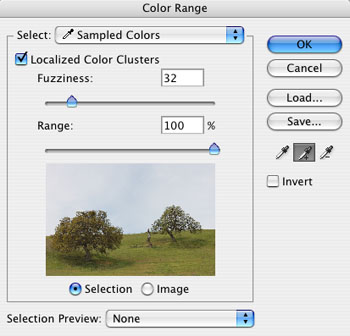
Actually we also get a lower density of this mask using the new mask density feature in CS4. Here is our result:
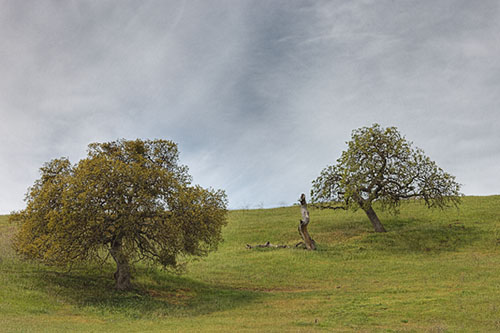
After Advanced Tonemapping
3. Add some contrast
We add some punch with DOP Contrast Plus:
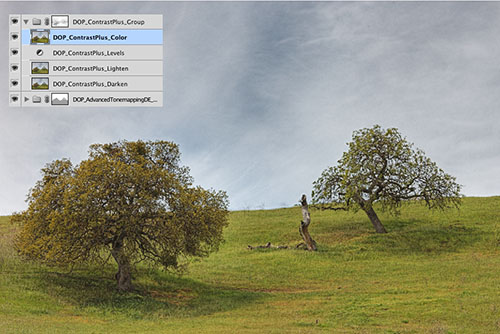
4. Final Tuning
As usual we add some Detail Extraction and also fine sharpening.
Here is the final color image:
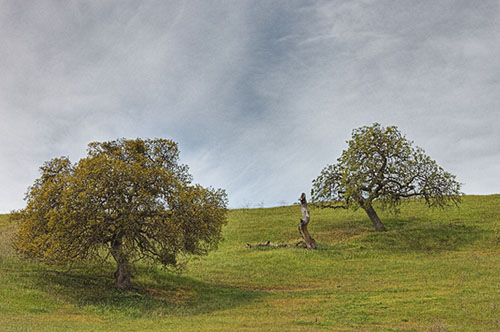
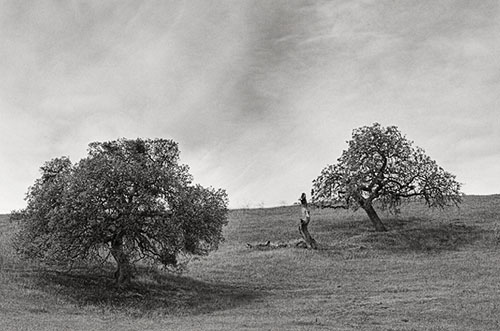
Actually our goal was to produce a B&W version and Nik Software Silver Efex Pro did it for us:
Conclusion
Photomatix Details Enhancer and the right workflow can bring these skies to life. By the way the detail is not fake but the normal RAW workflow does not show it as such.
|